

Create anchor points for your backpack net… ingenuity at its best to make it work.
Just like that, the top and one side are connected now, and you're going to get a quick glimpse of what the net pocket is going to look like.
The Mini OPSnet backpack net, made for PALS webbing/ Tactical backpacks (click the thumbnail, learn more)
Let me start by saying we are not reinventing the wheel here, but we are improving our pack to make it work. This sling pack of mine has some flaws, like many backpacks and other sling packs. I might even say there is no perfect pack out there that doesn’t fall short of our expectations, but so is life. We shall conquer by improving it for ourselves and tailoring it toward our needs because we can.
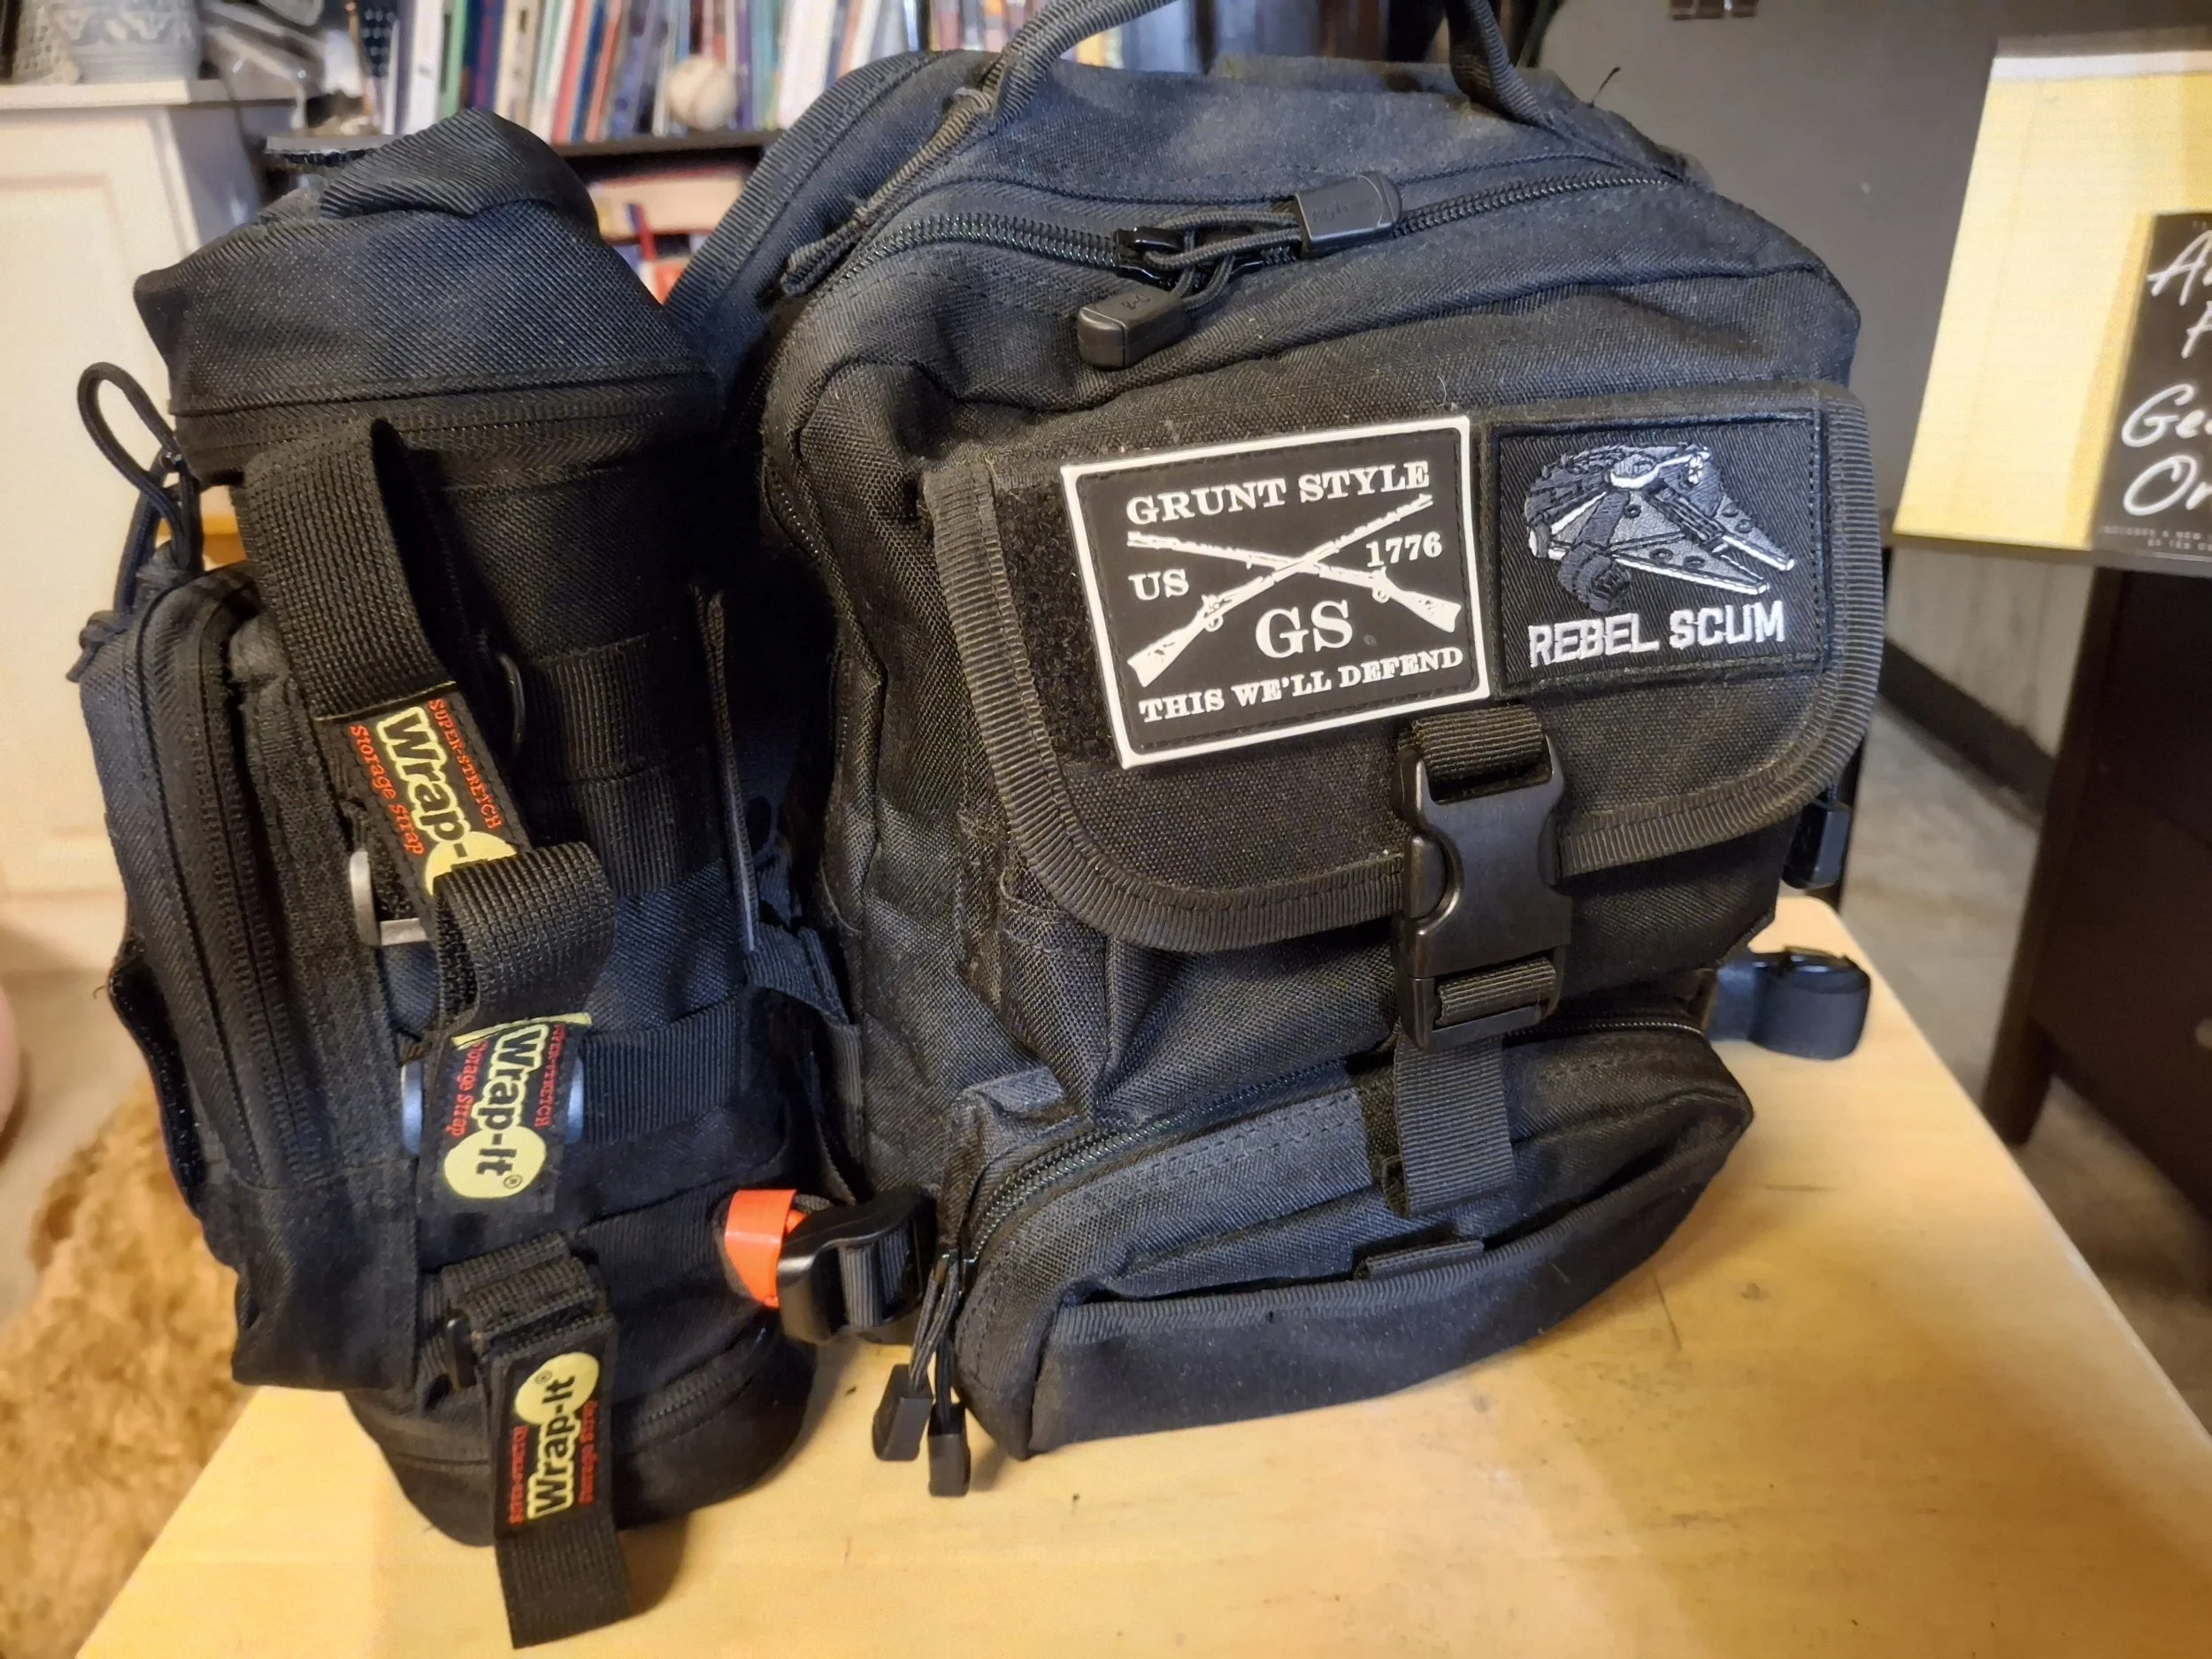
Let me begin with my sling pack, which I do very much like; it’s my art pack for sketches, drawings, and thoughts. It has minimal PALS webbing, and I kind of like that because it gives a more streamlined look. The webbing is on the sides, and it's very minimal. My goal here is to make it work so I can fit my Mini OPSnet around it and carry more if needed.
Let’s make some anchor points for the Mini OPSnet
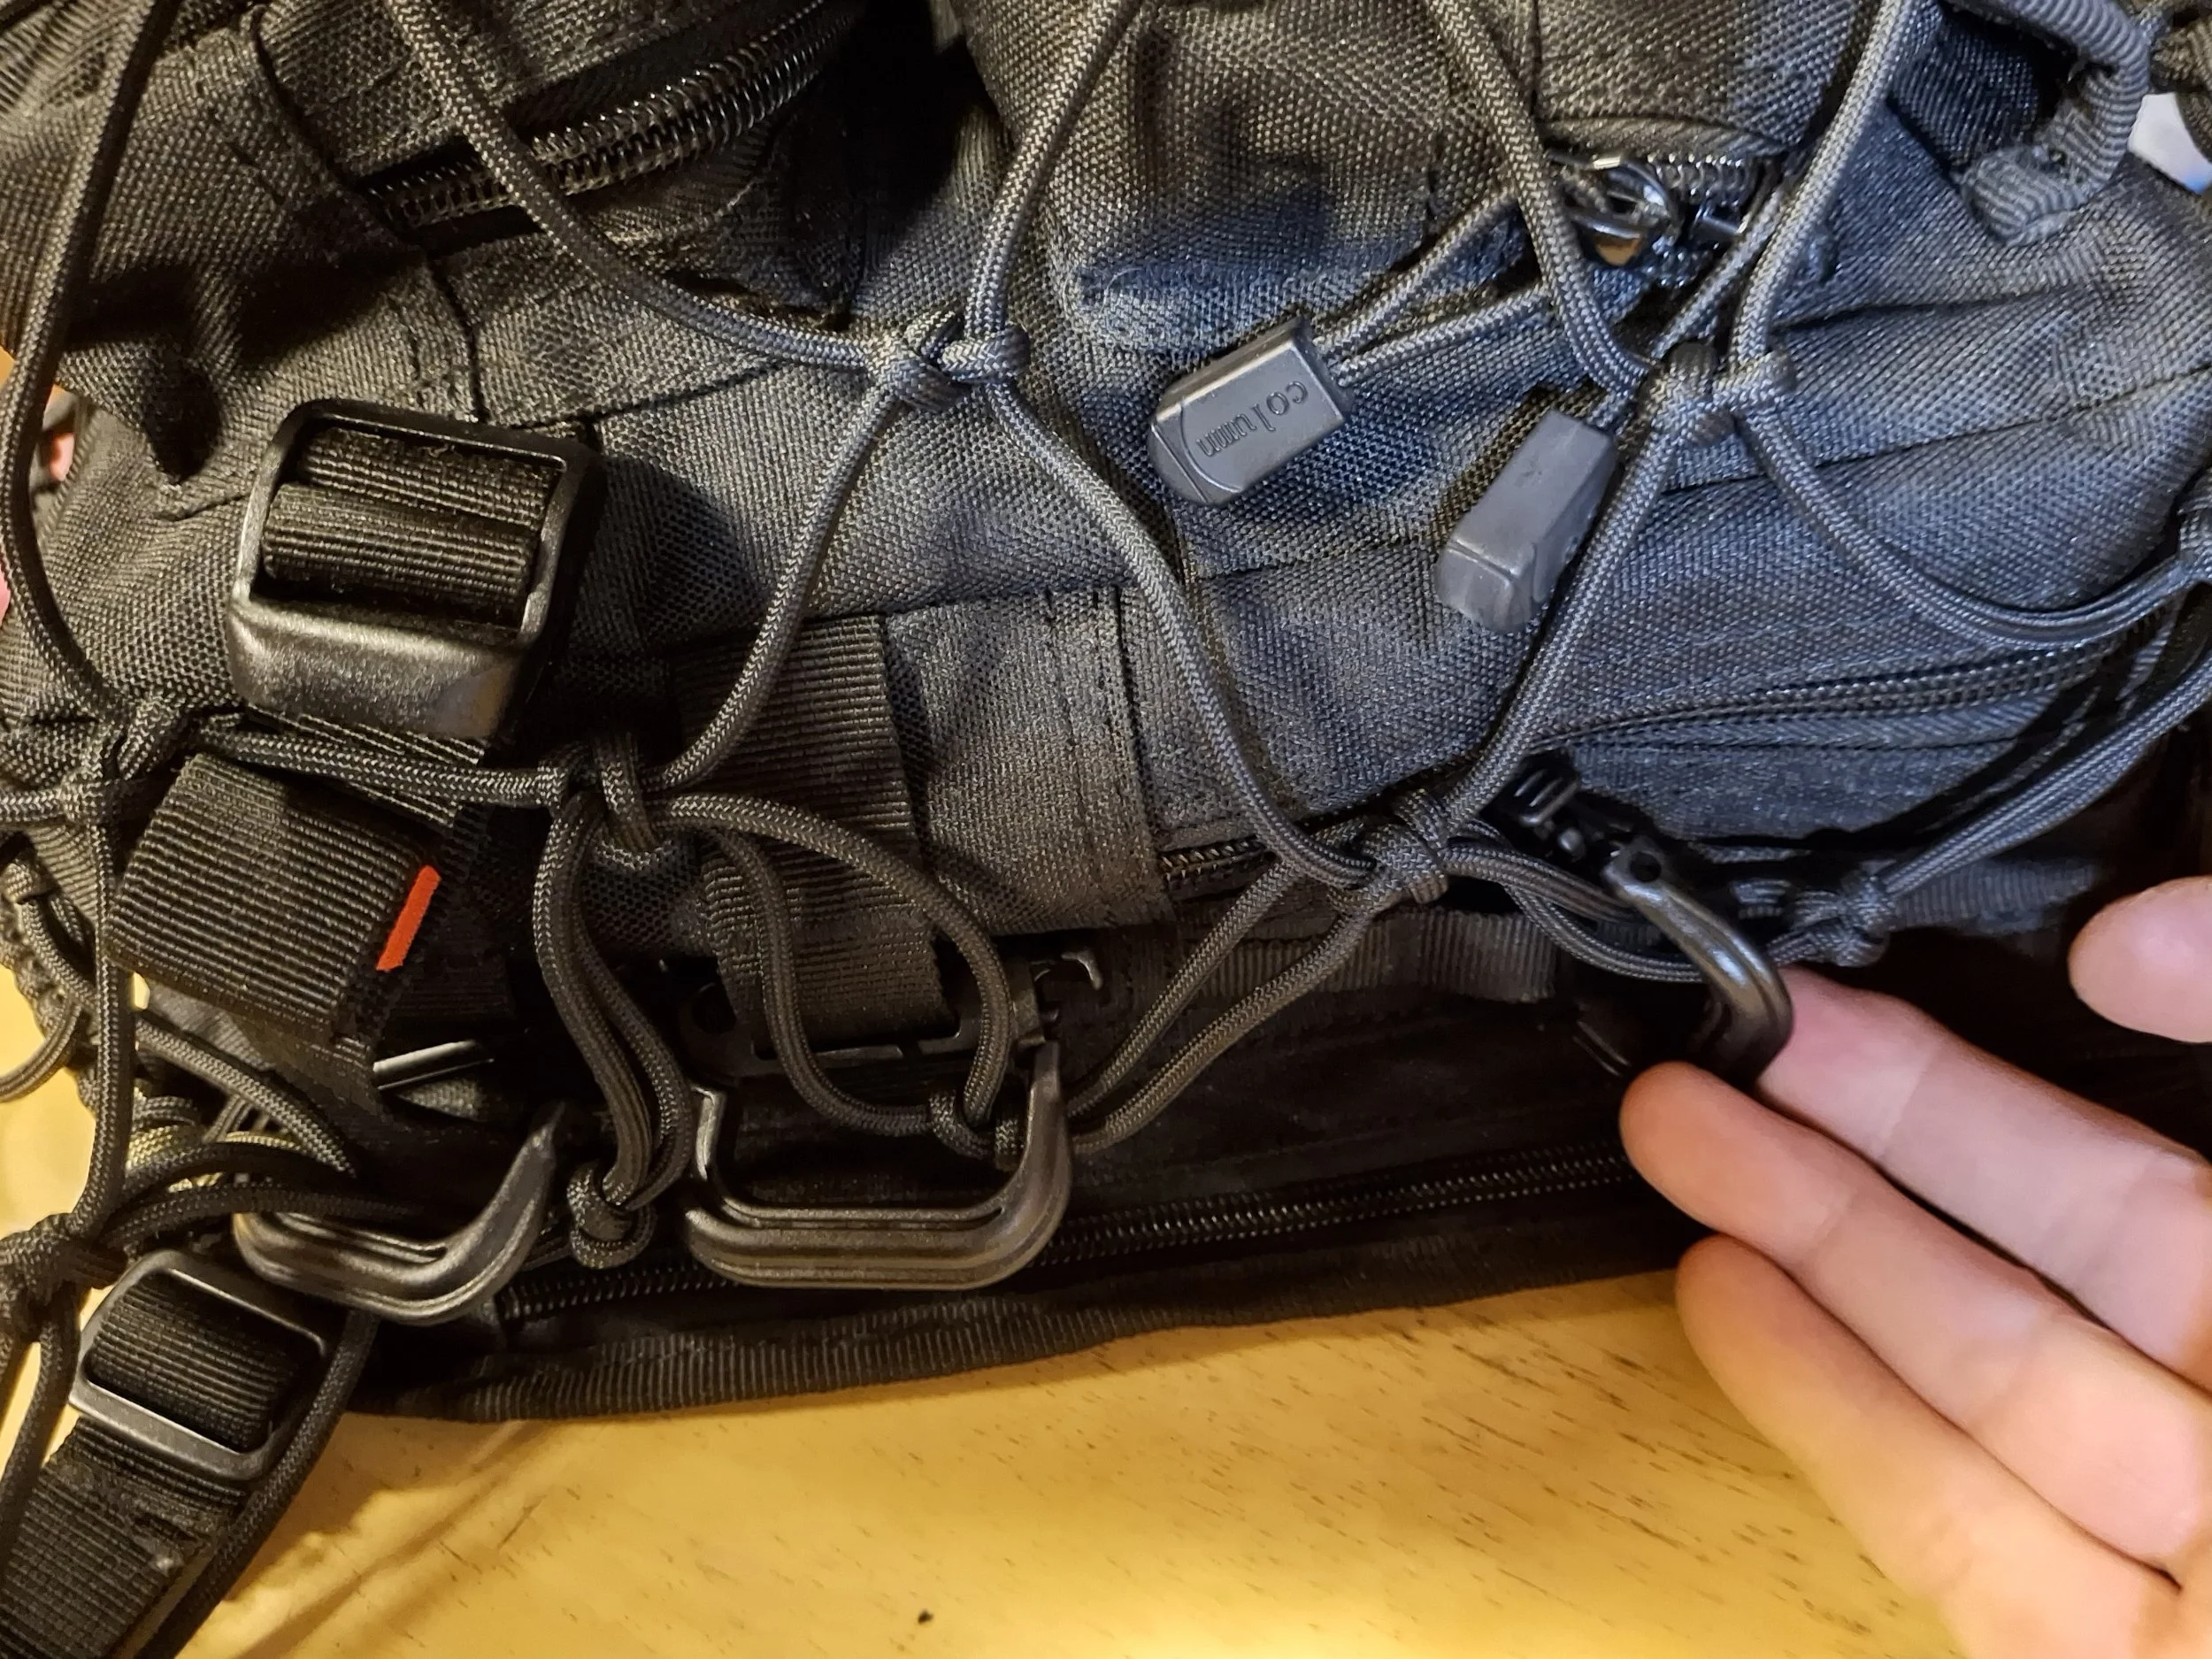
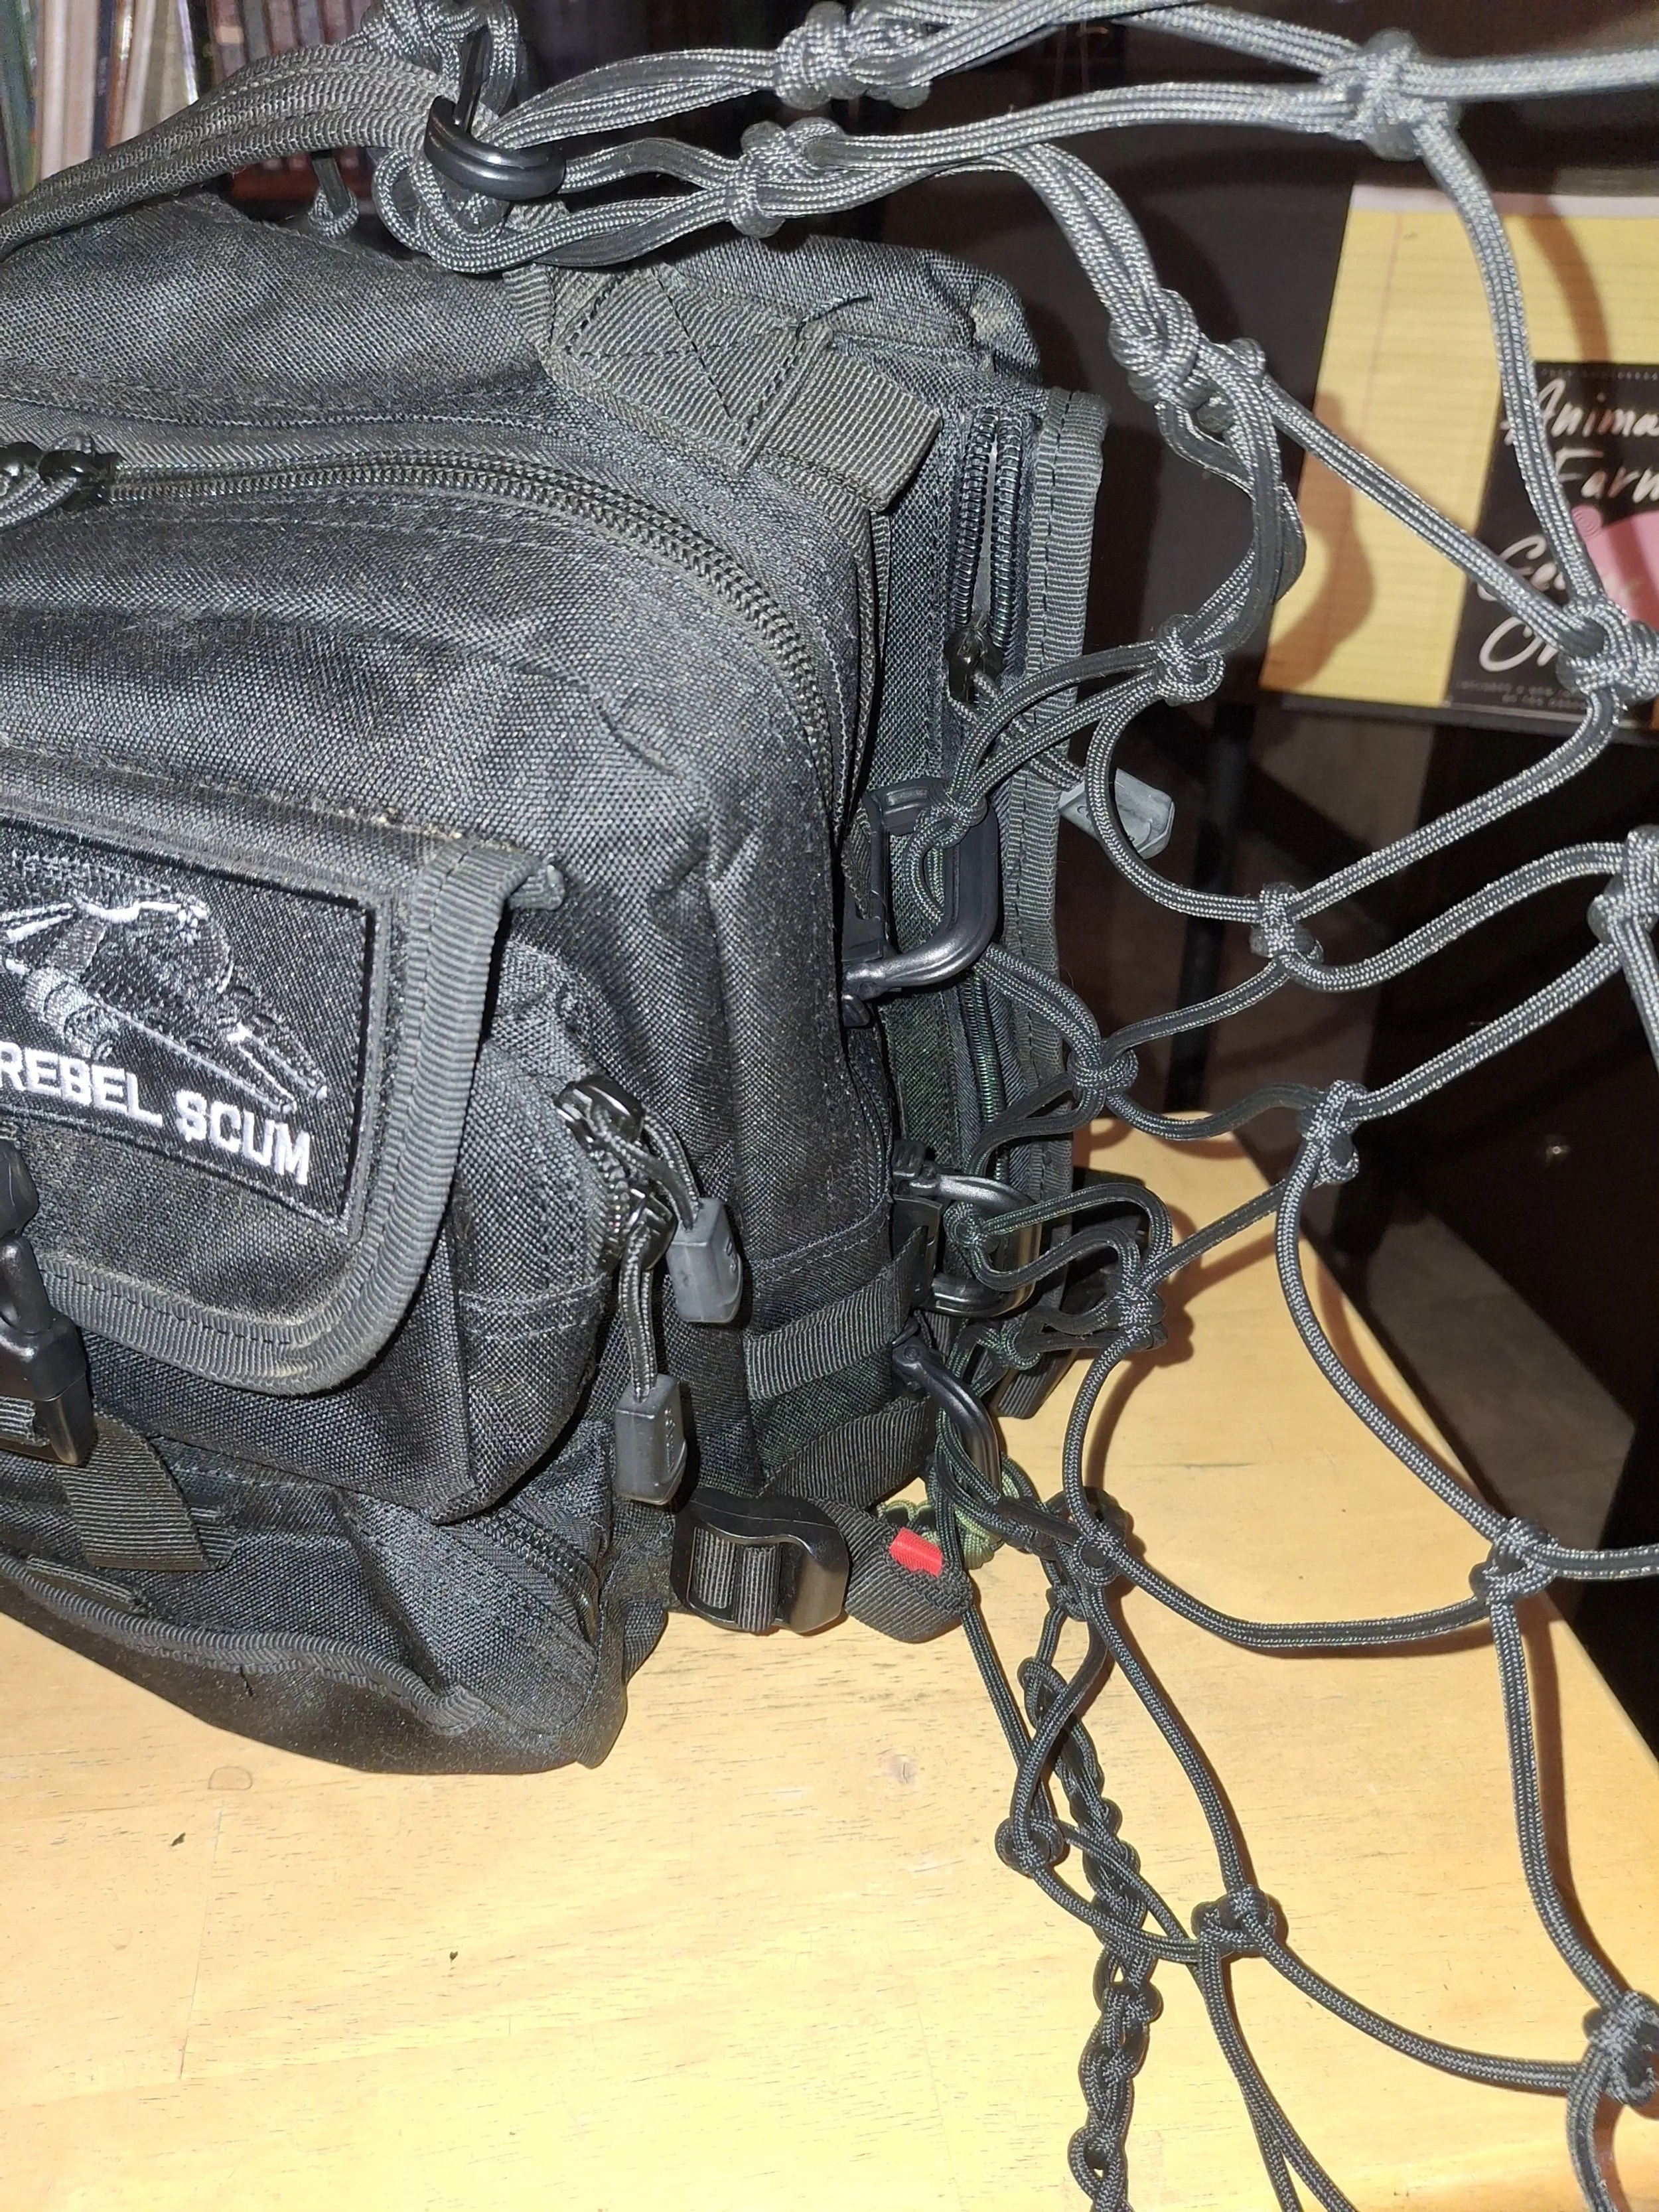
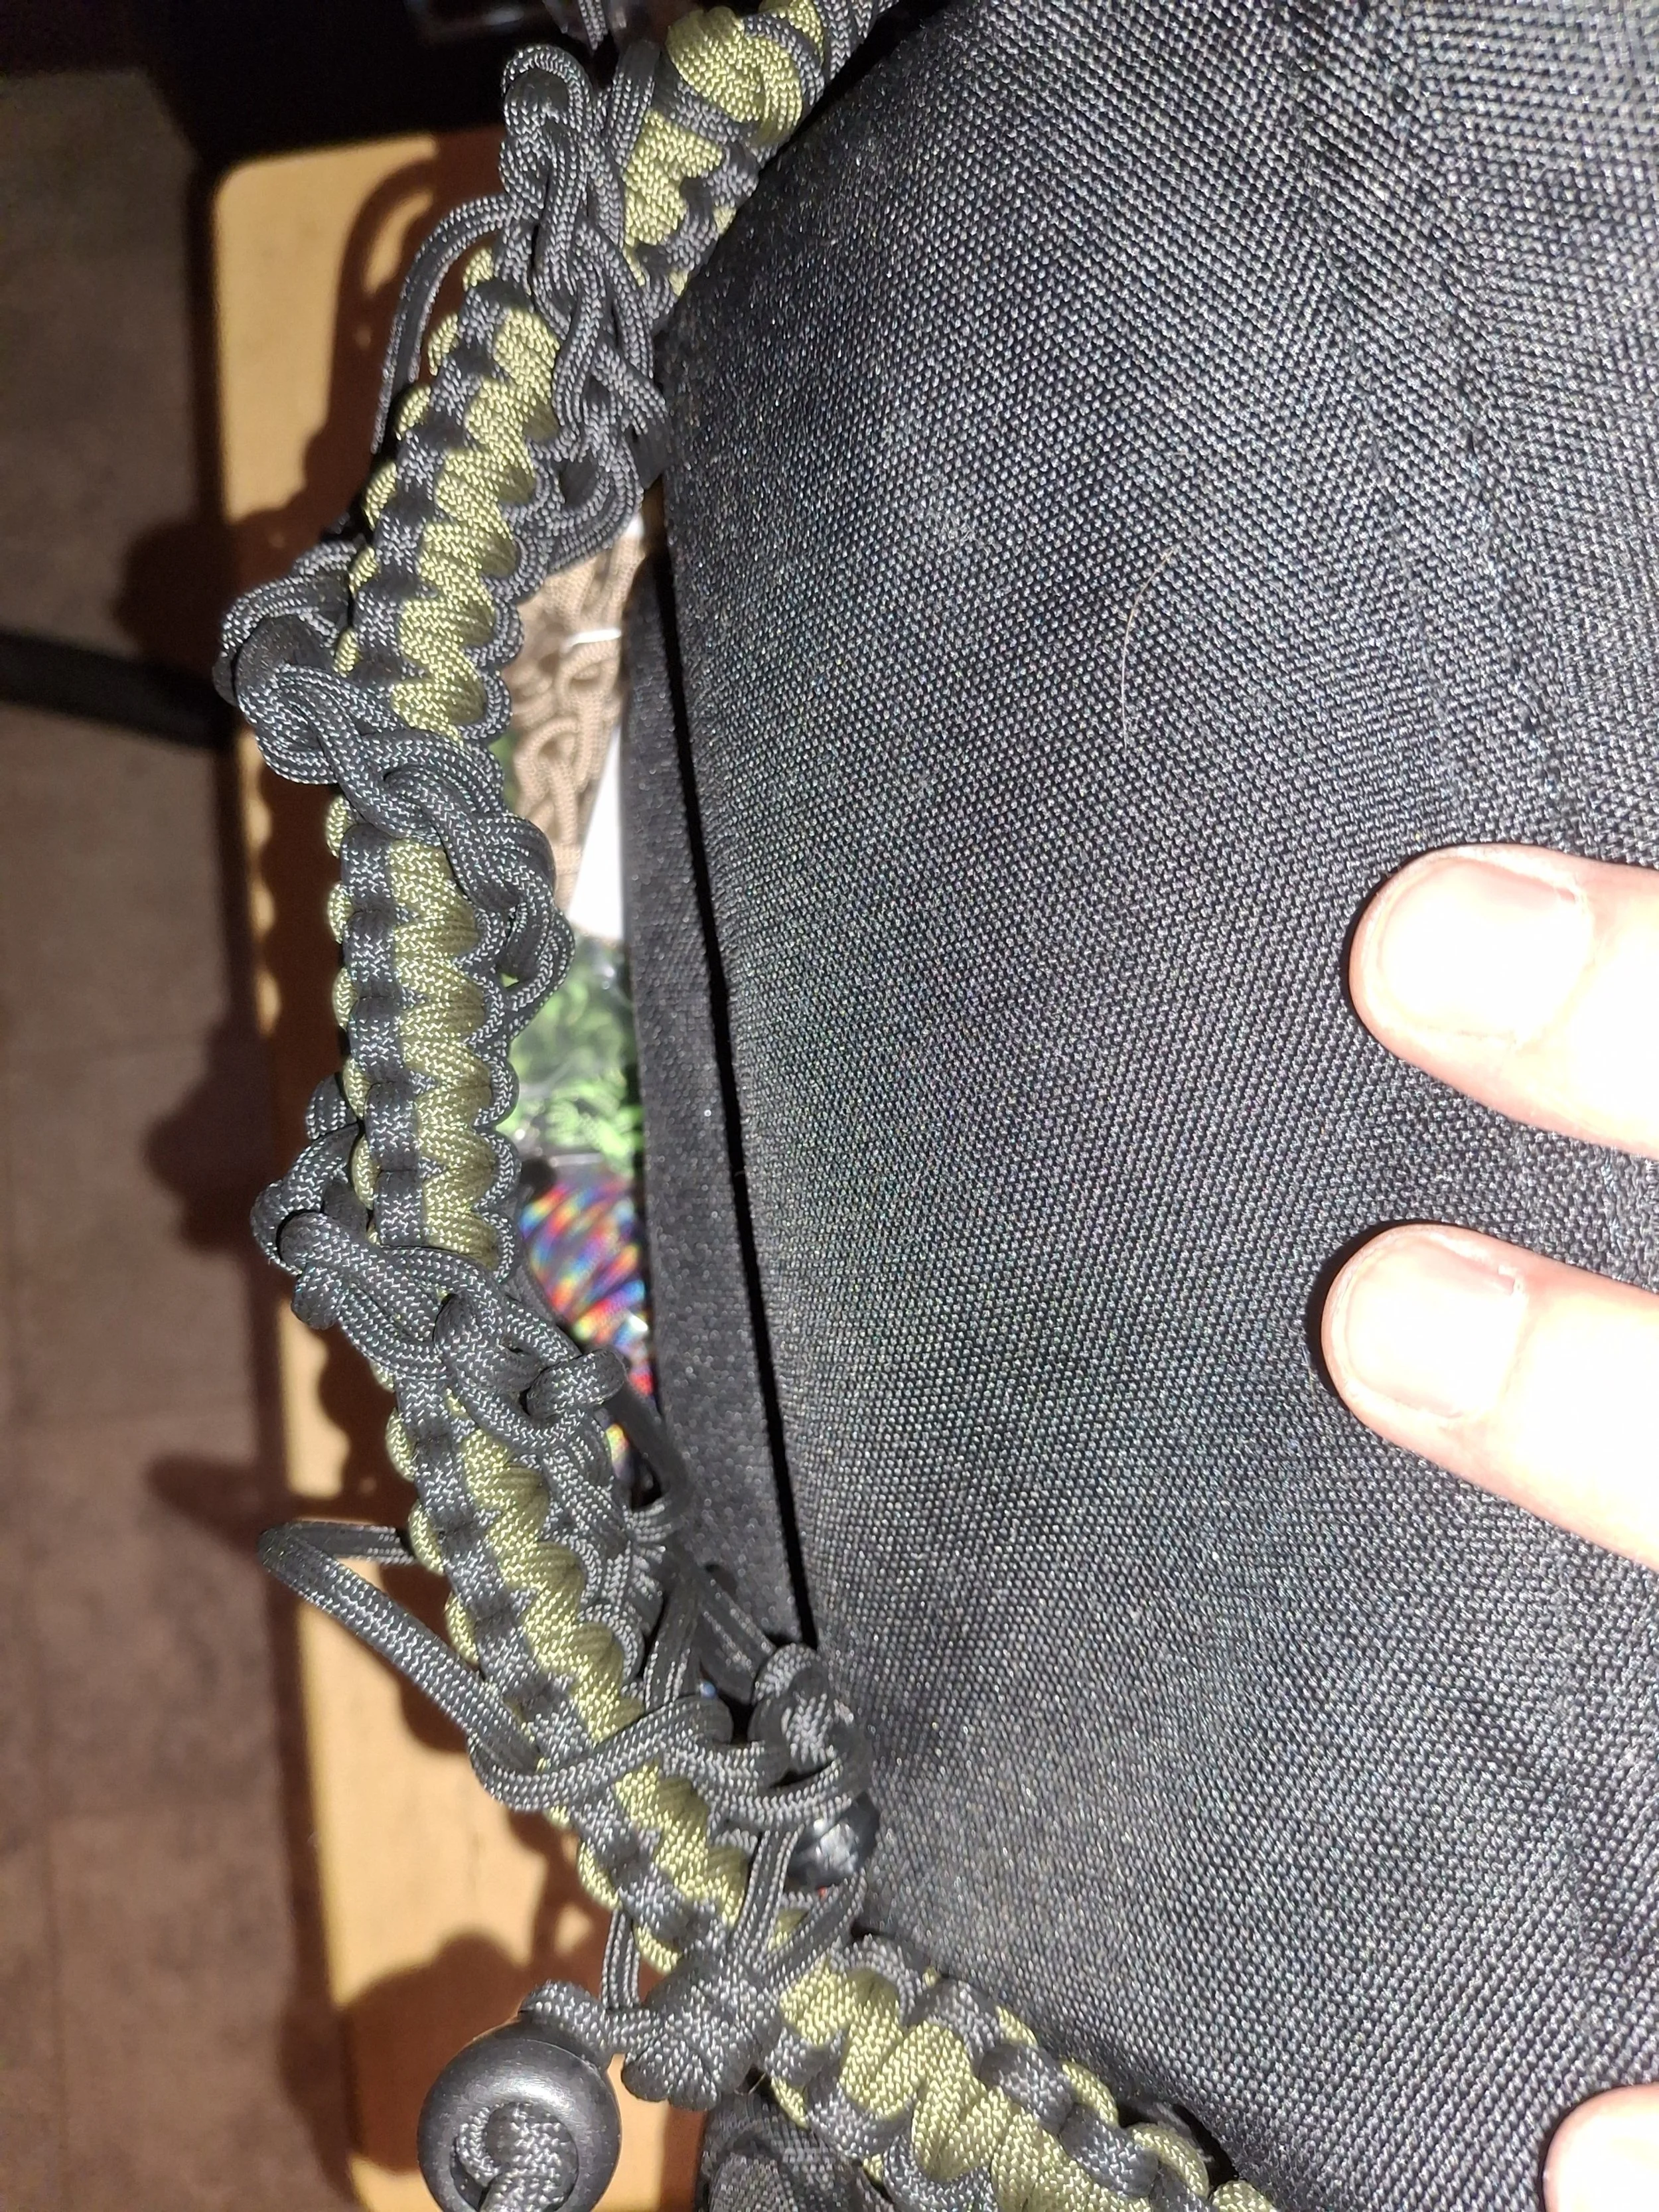
This sling pack comes with minimal PALS webbing on the sides, and my water bottle holder is using up one side. Lucky for me, the Molle water bottle holder also has PALS webbing. I used the wrap-it straps in the webbing, but you can use any carabiner you like to create an anchor point for the backpack net to go on and create a smaller or bigger net pocket to pack, hold, and carry more. The Delima here is I have no webbing on the bottom of the pack, so my backpack net can go from one side to the other with no big holes in it, but i will have a hole at the bottom of the net pocket. How can I close that up? I’ll show you.

let’s make an extra grab handle that can go on the bottom of our pack
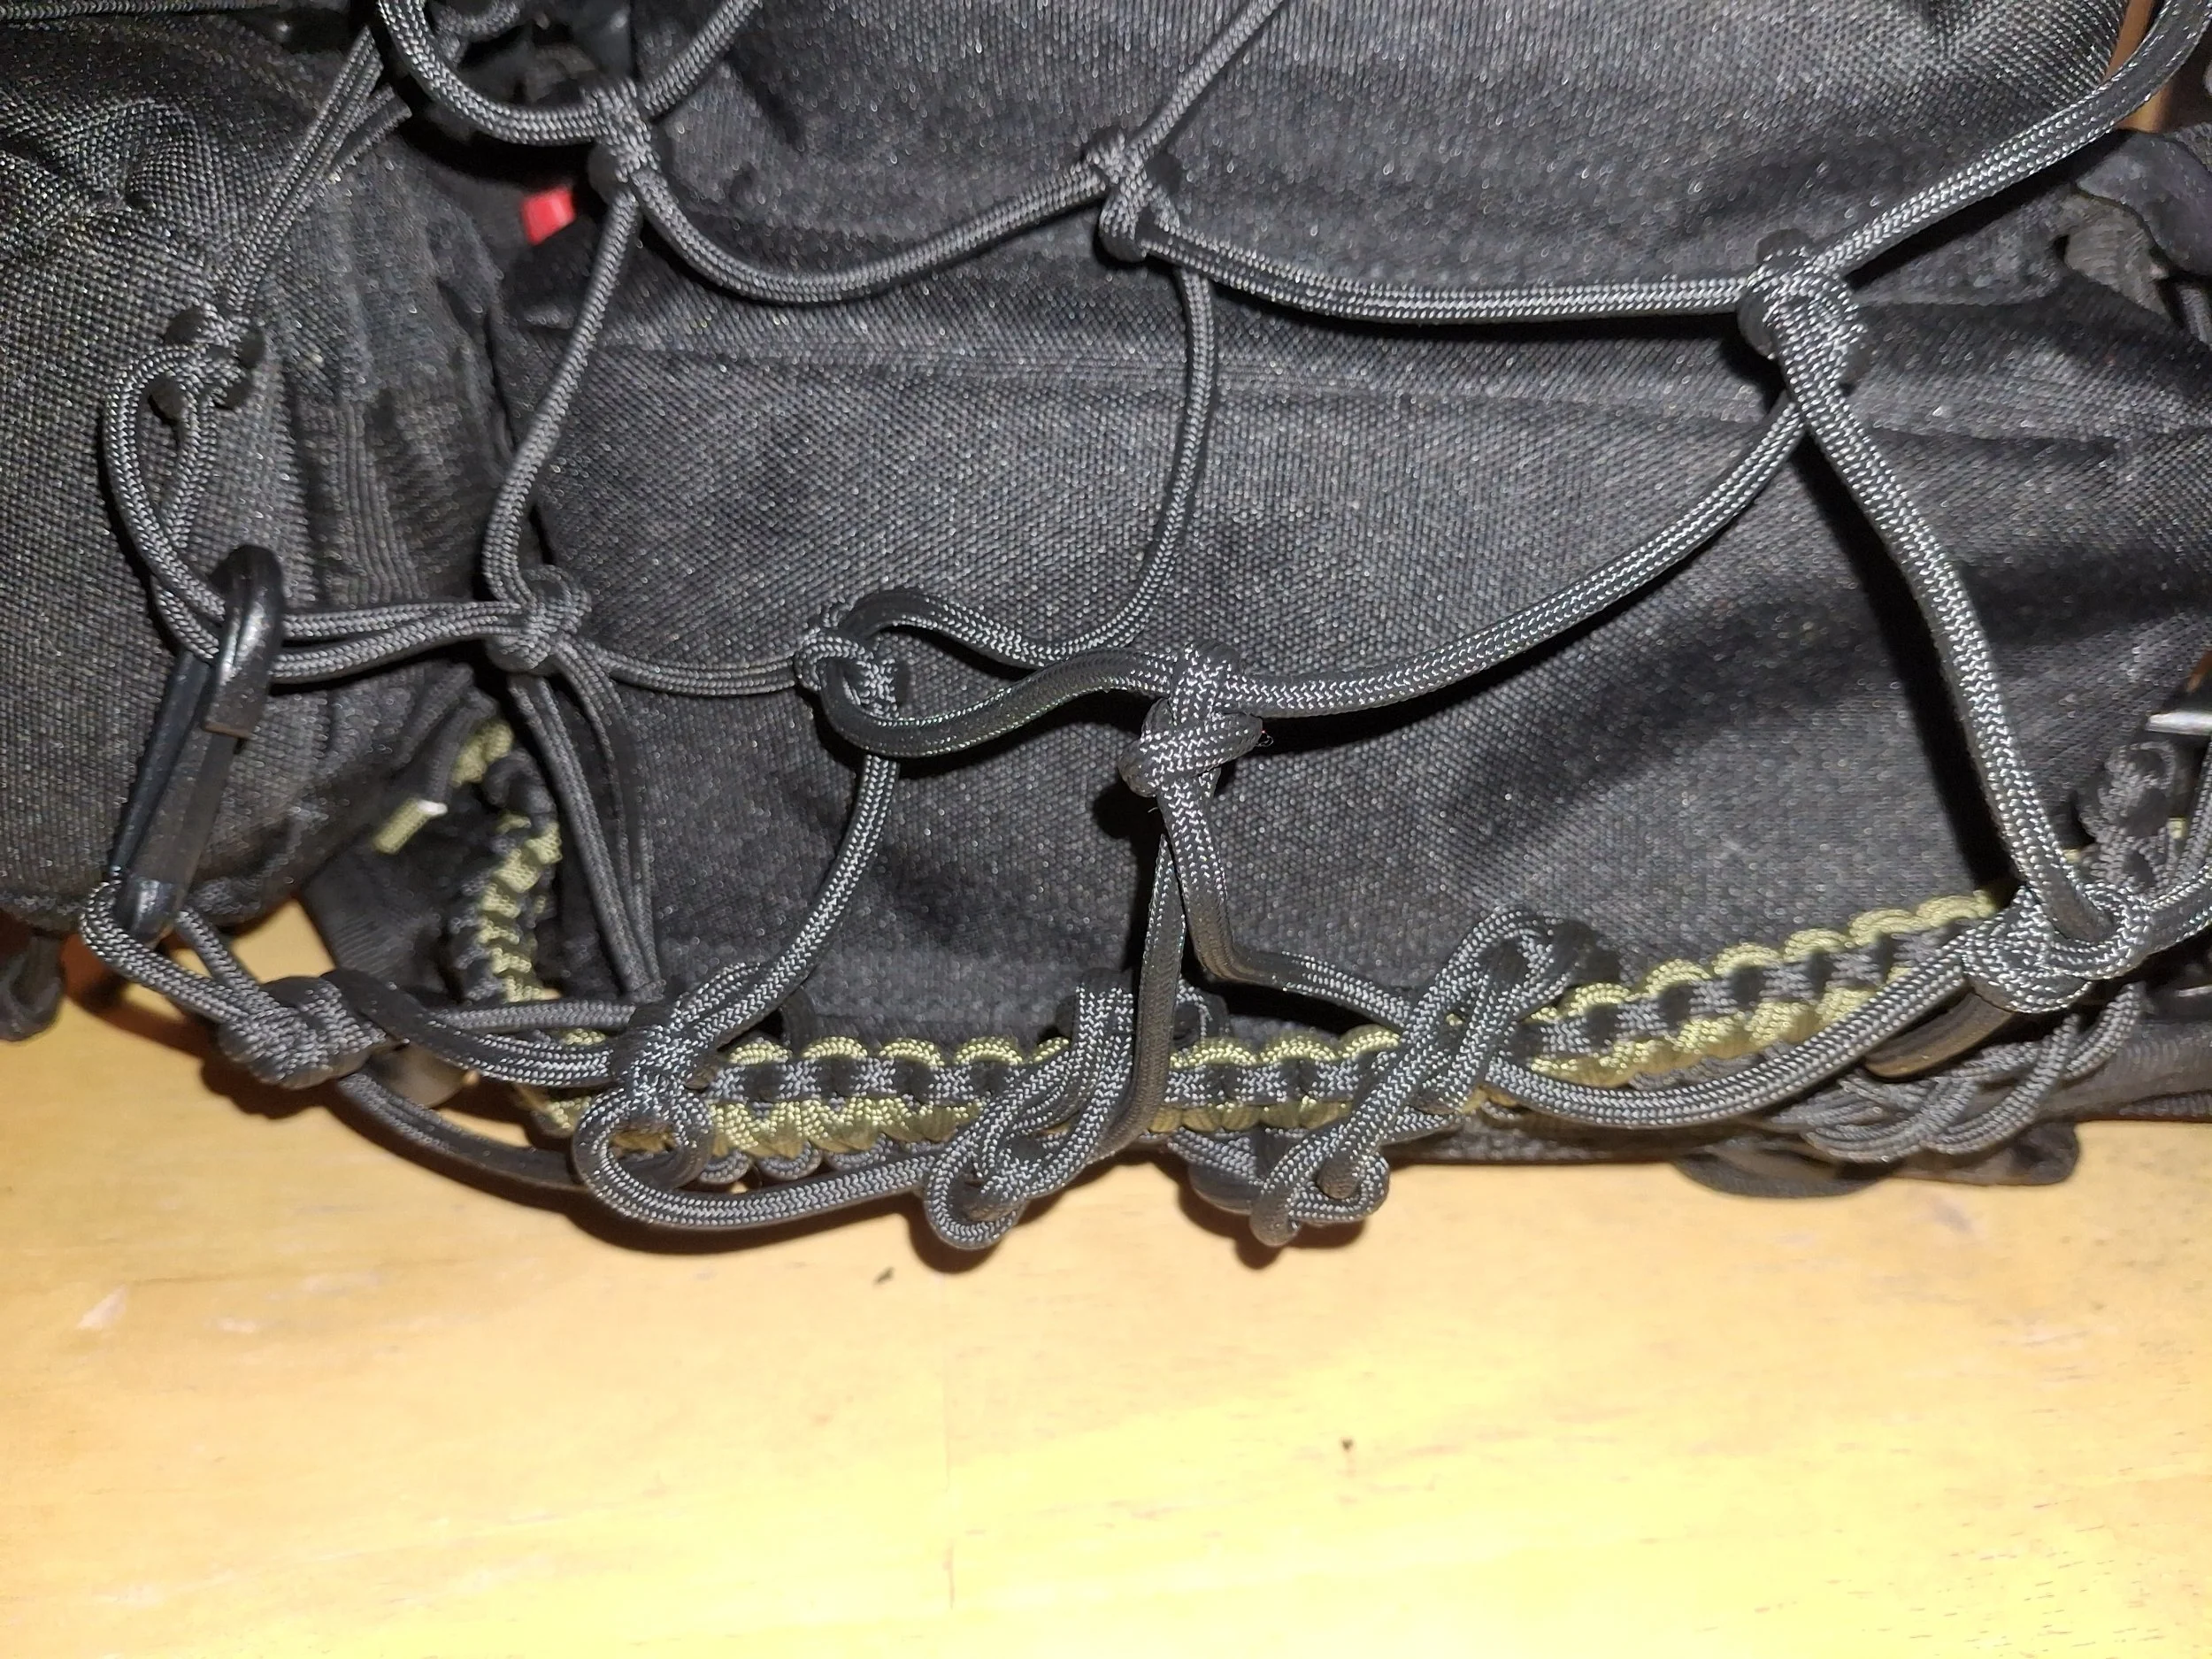
So what I did here was add an extra grab handle and attach it to the bottom of my pack. Between my water bottle holder and the pack, I have a carabiner tucked in to fasten the grab handle on one side, and it stretches to the other side of the pack, where I have minimal PALS webbing, and connects to the carabiners I placed over there. If you look at my grab handle, it is pretty long. I could have made it shorter so it wouldn't sag as much. That will be the size of my hole/void, because that is where the bottom of the Mini OPSnet is going to connect. But it will work for me. I will be placing larger items in the backpack net so they won’t fall through, but keep that in mind. If you're looking to do something similar here with your backpack net, you’ll see what I mean in the end. Let’s get the net on now!

I always start at the top, clip the Mini OPSnet to the top of your packs' grab handles, and let the net hang down. We're going to connect one side of the net, where the long tail is, to the side of the pack.
I got my carabiners open on the side, ready to connect.
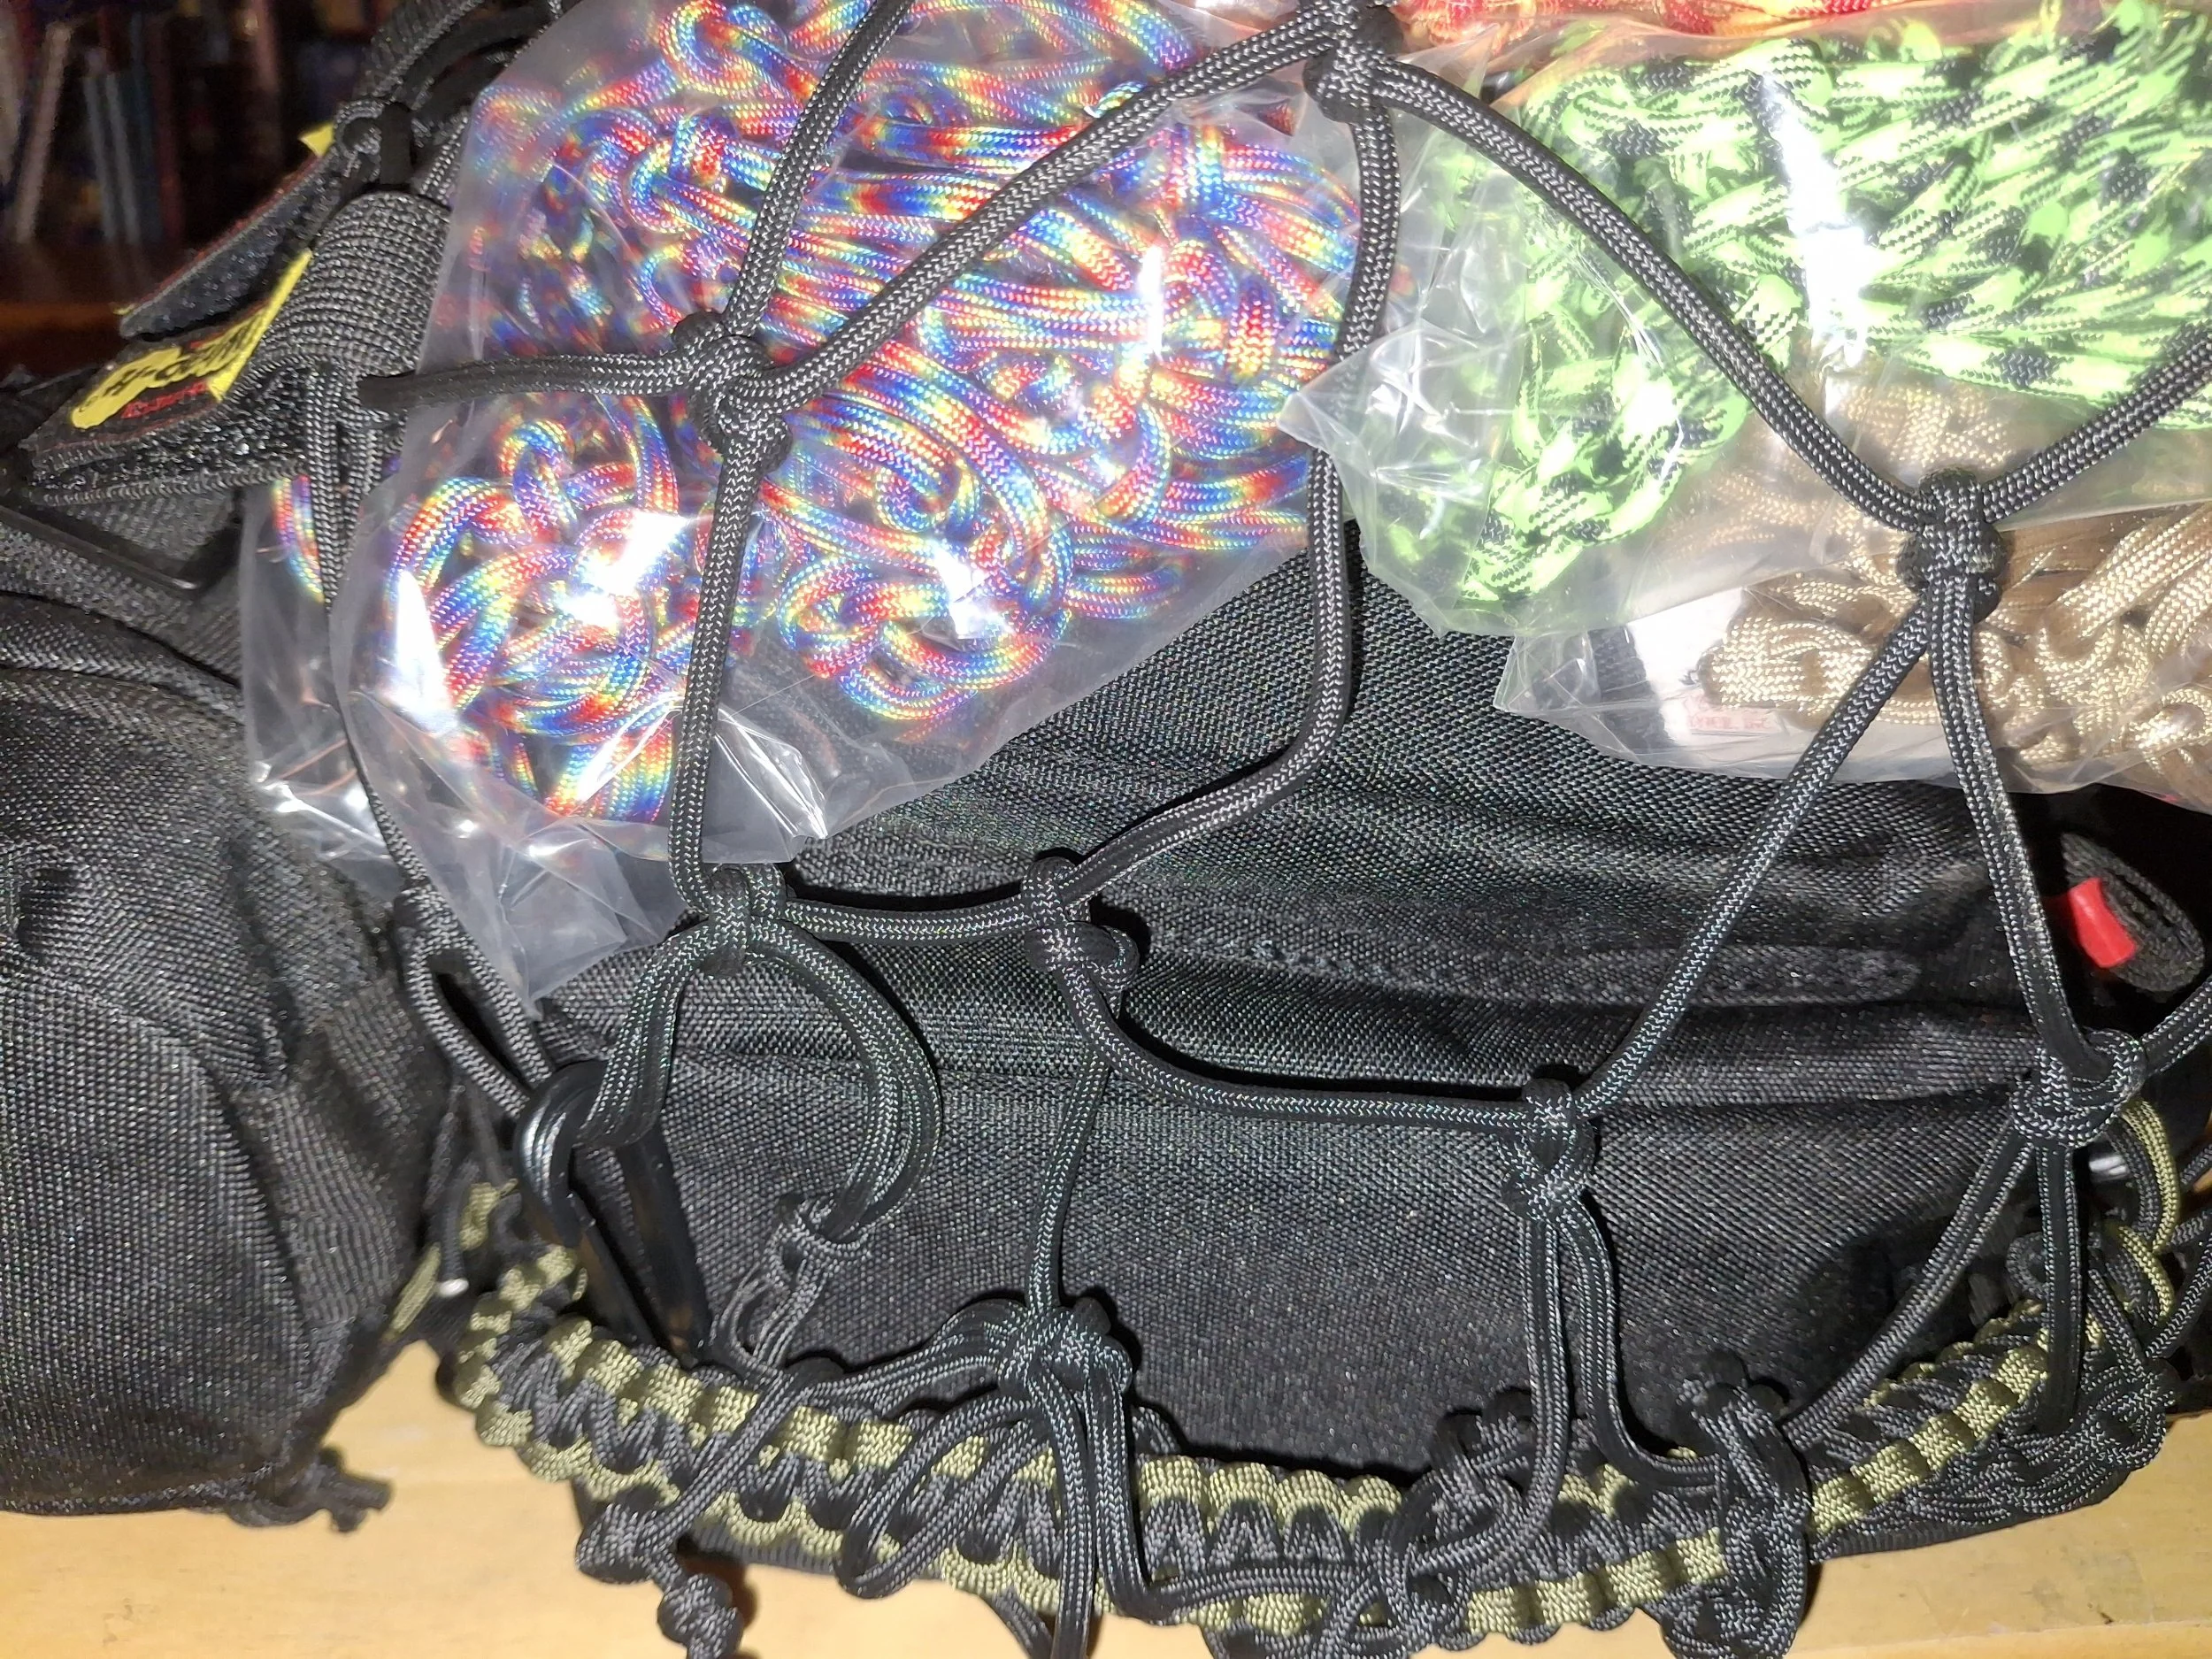
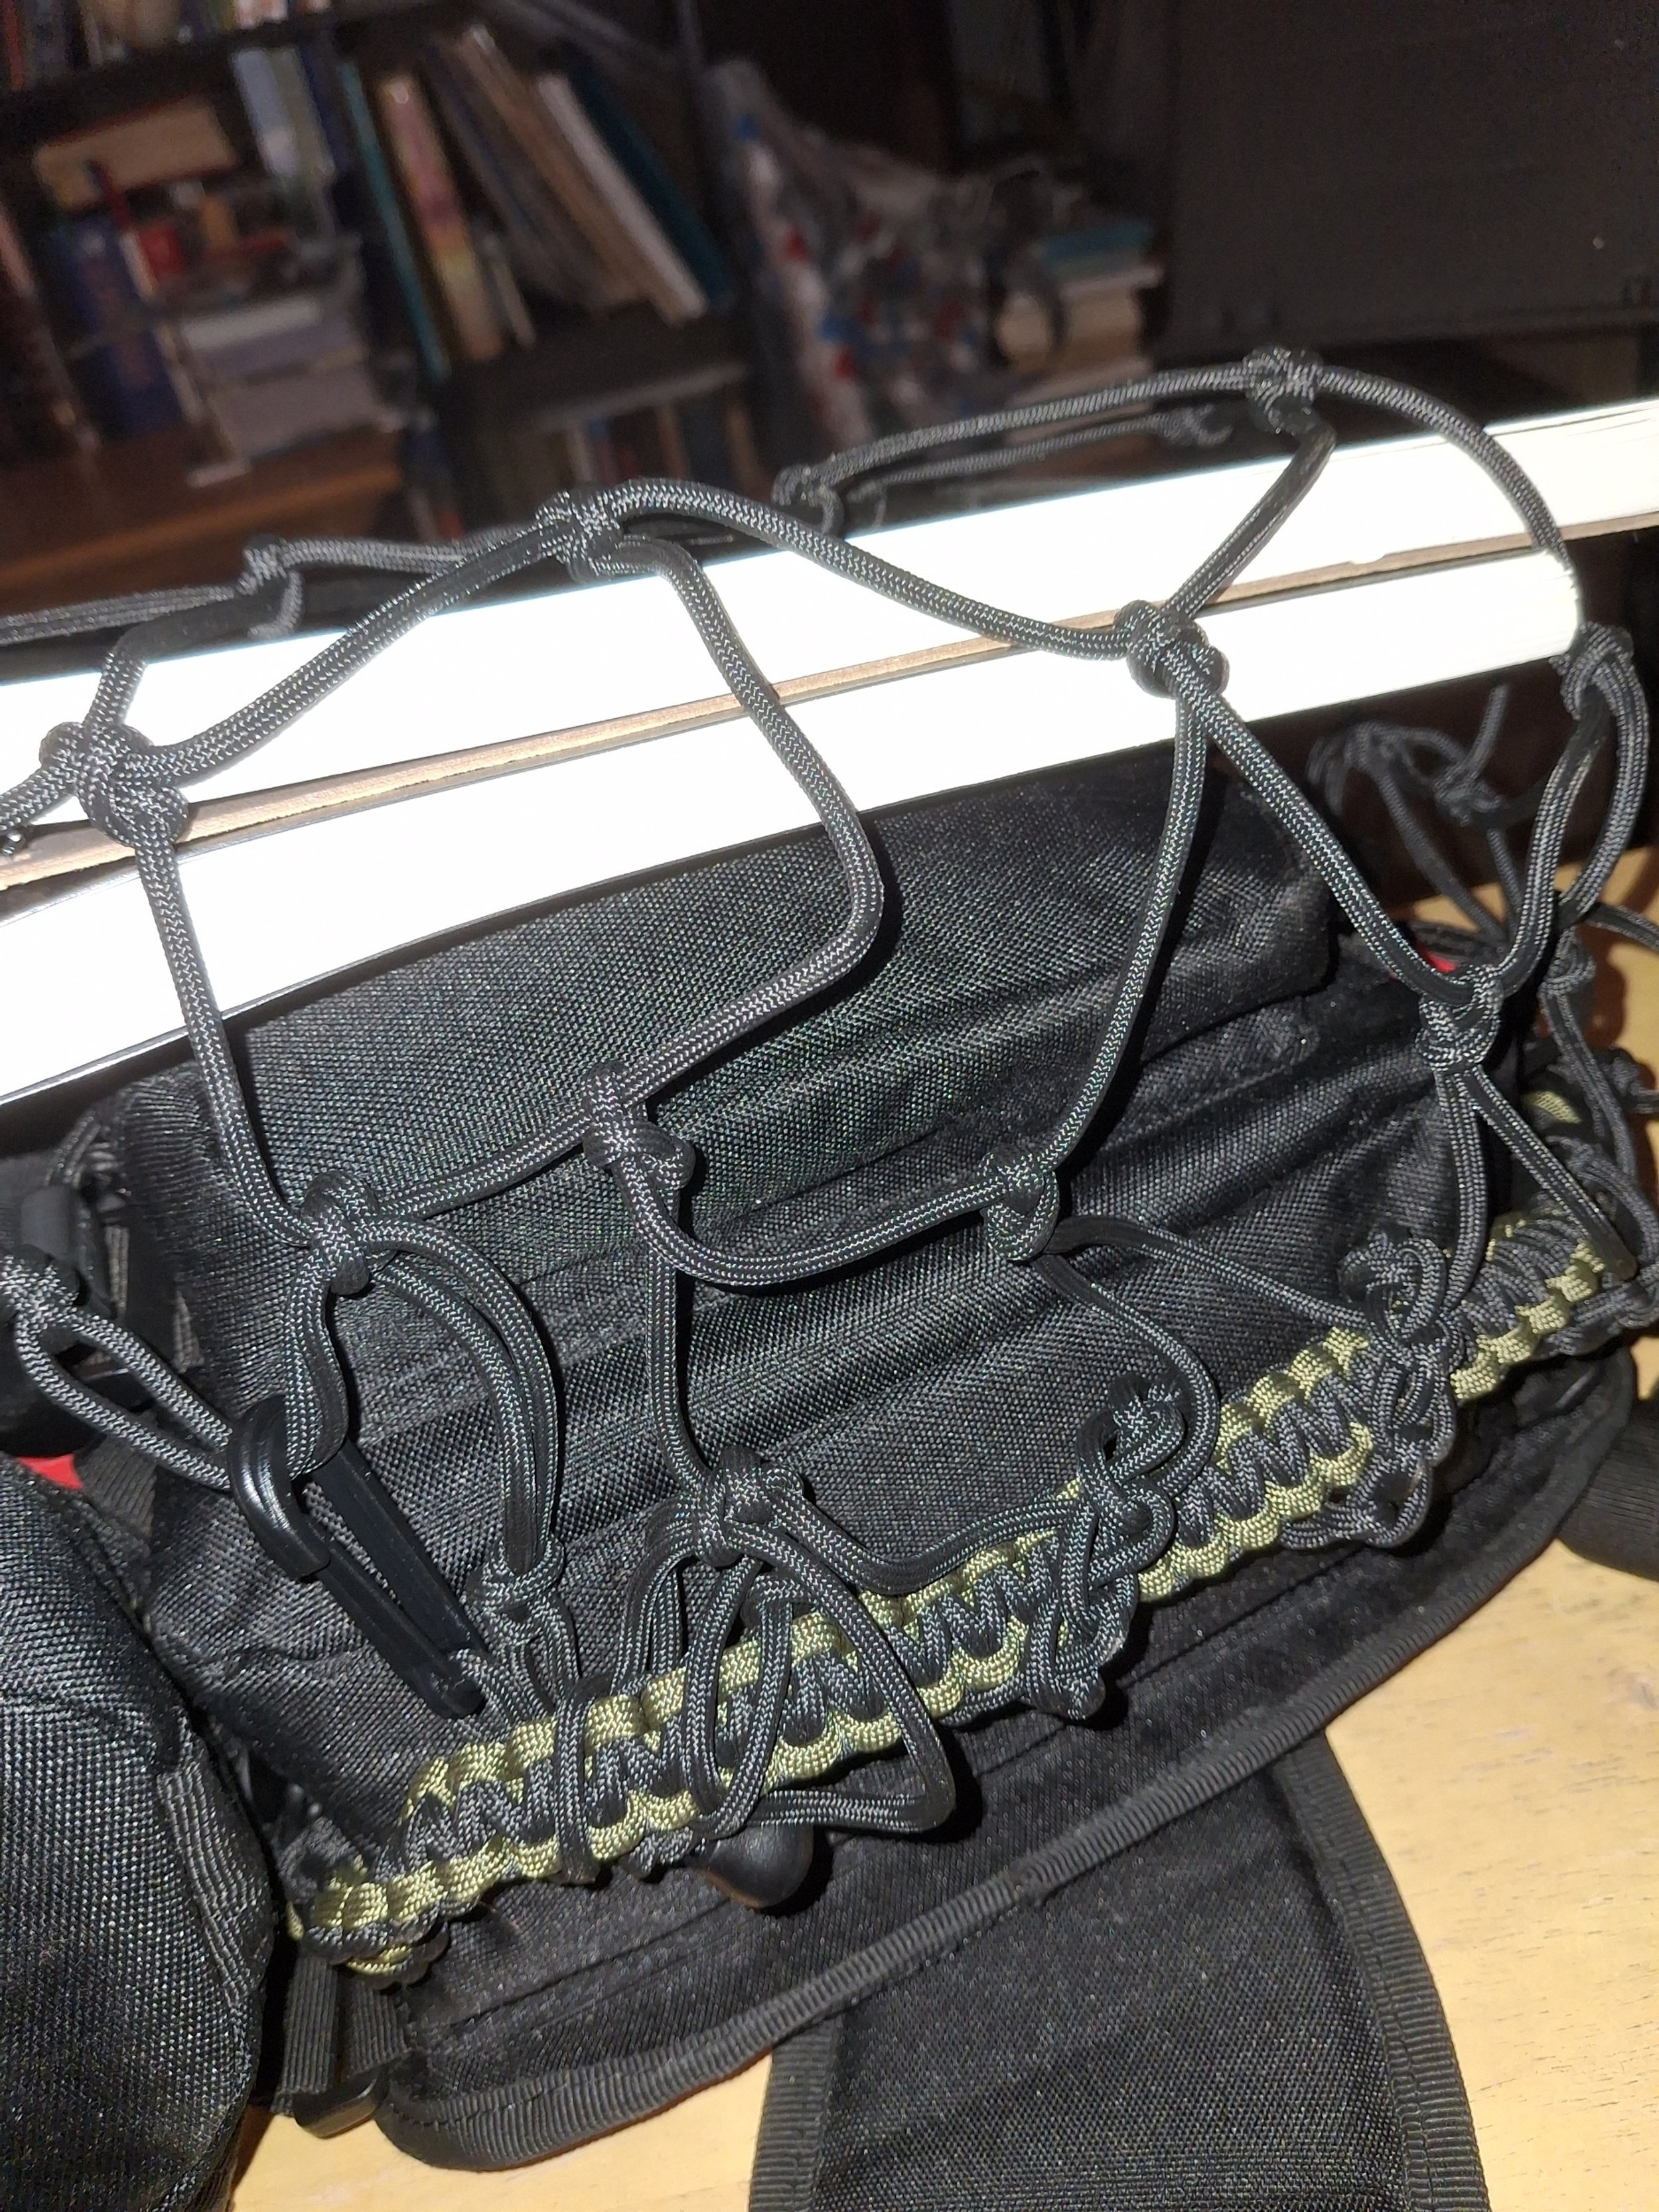
We are set for the long tail to weave in and out of the meshes at the bottom of the backpack net, connecting to the bottom grab handle we made. Note: The long tail is the extra cord bound up in a daisy chain, in case you want to undo for more cord length to cinch up, grab more meshes to tighten.)
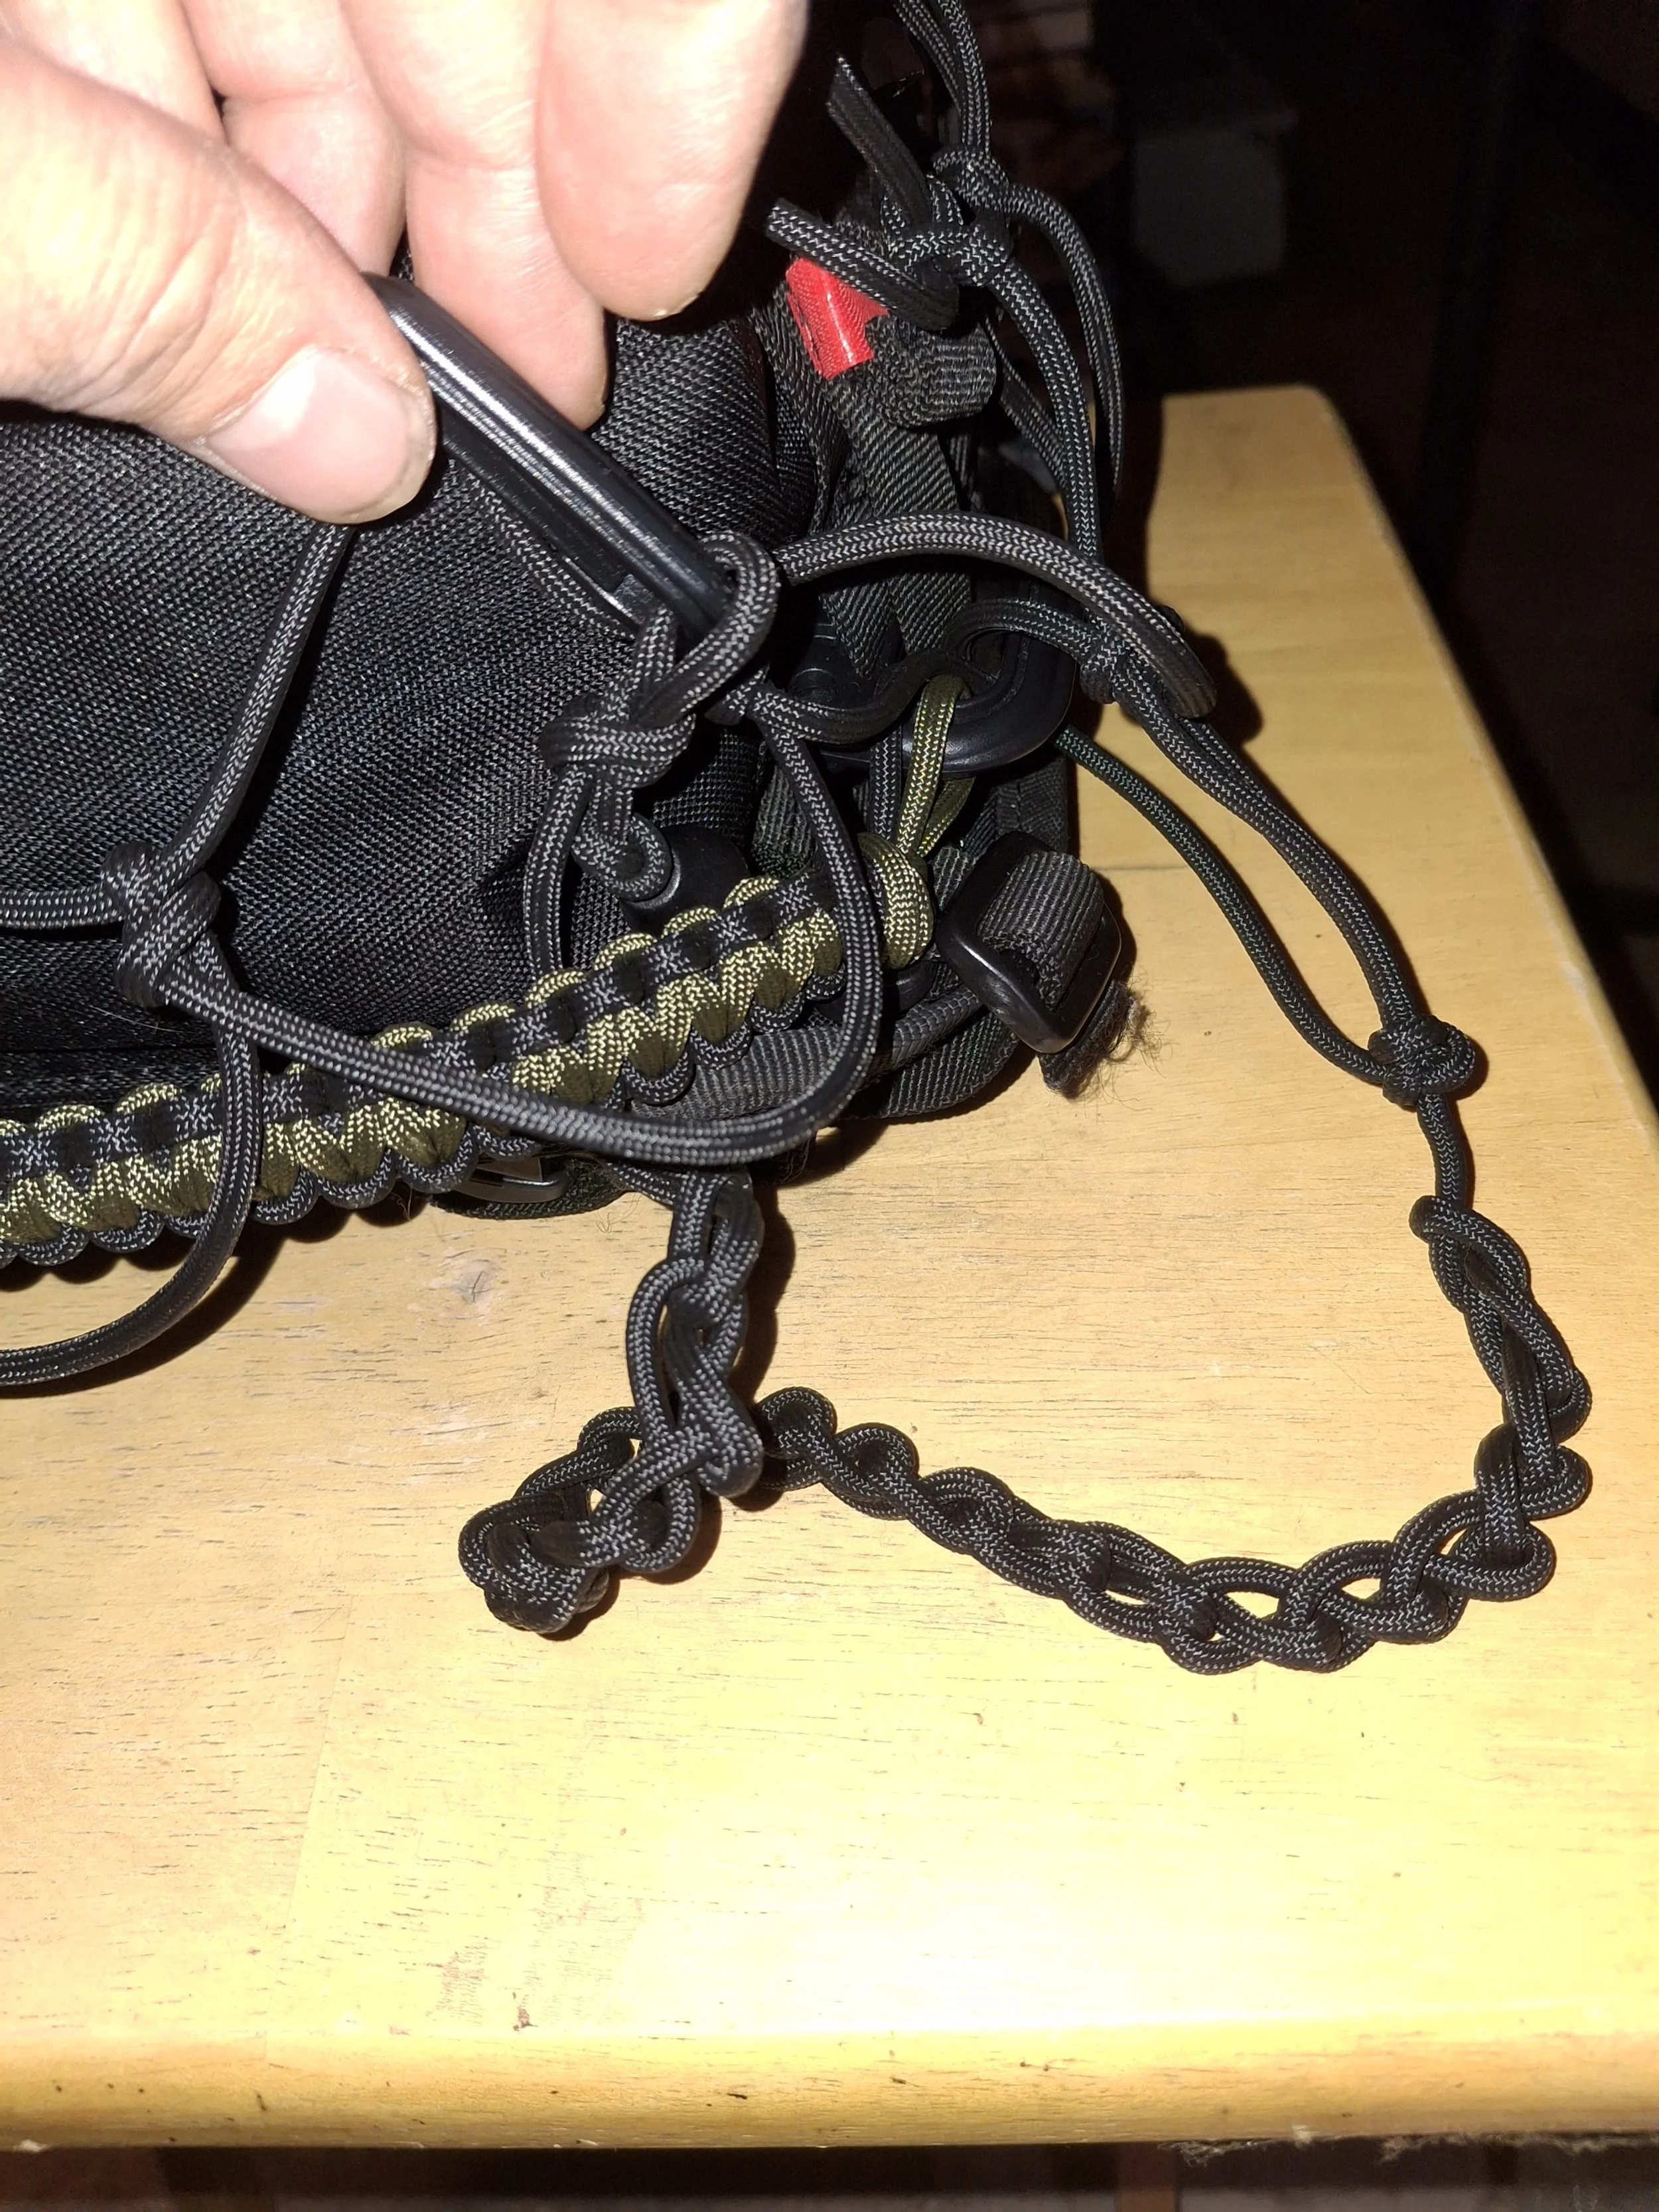
Weave the long tail around the grab handle and go thru a mesh and continue that grabbing meshes and going around the grab handle till you get to the other side of the bottom of your pack. (Don’t over think this, just connect the bottom of the net to the grab handle to create your pocket.)
When you're at the end, clip that long tail to the mesh. You’ll come back to that when you need to tighten your pocket up when stuffing your stuff in there to keep it from swaying. We are ready to connect to the other side of the net now.
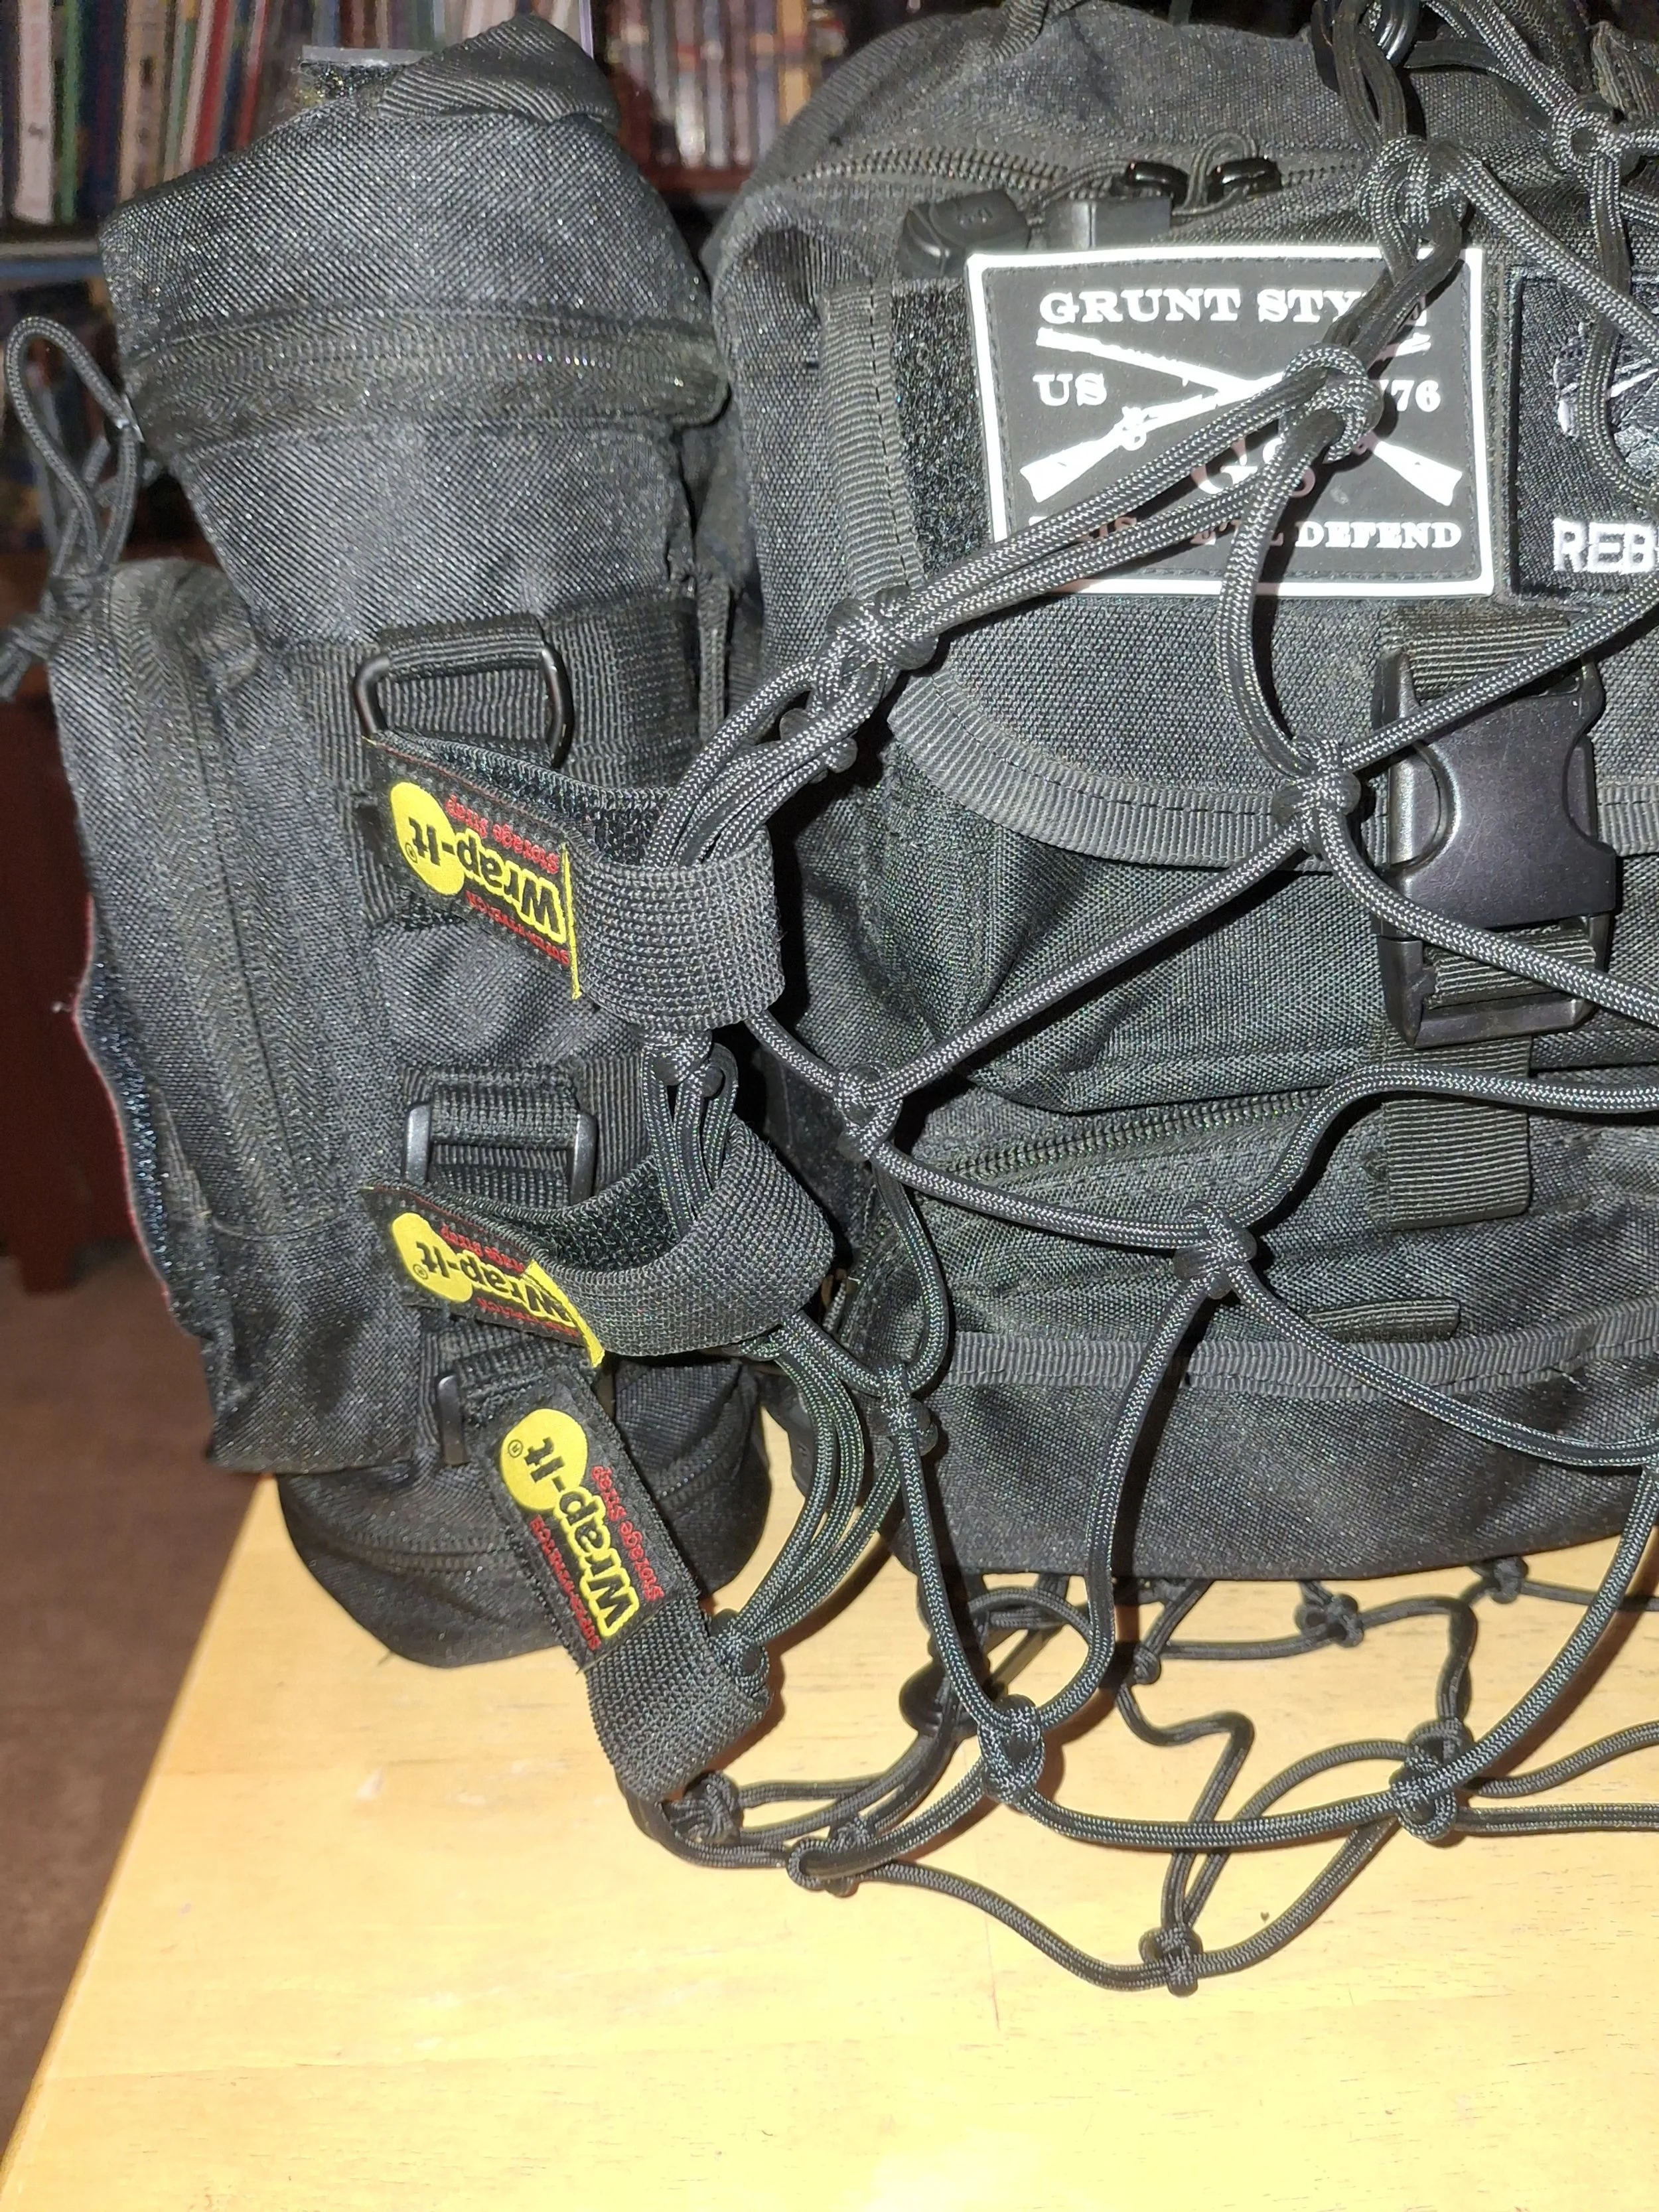
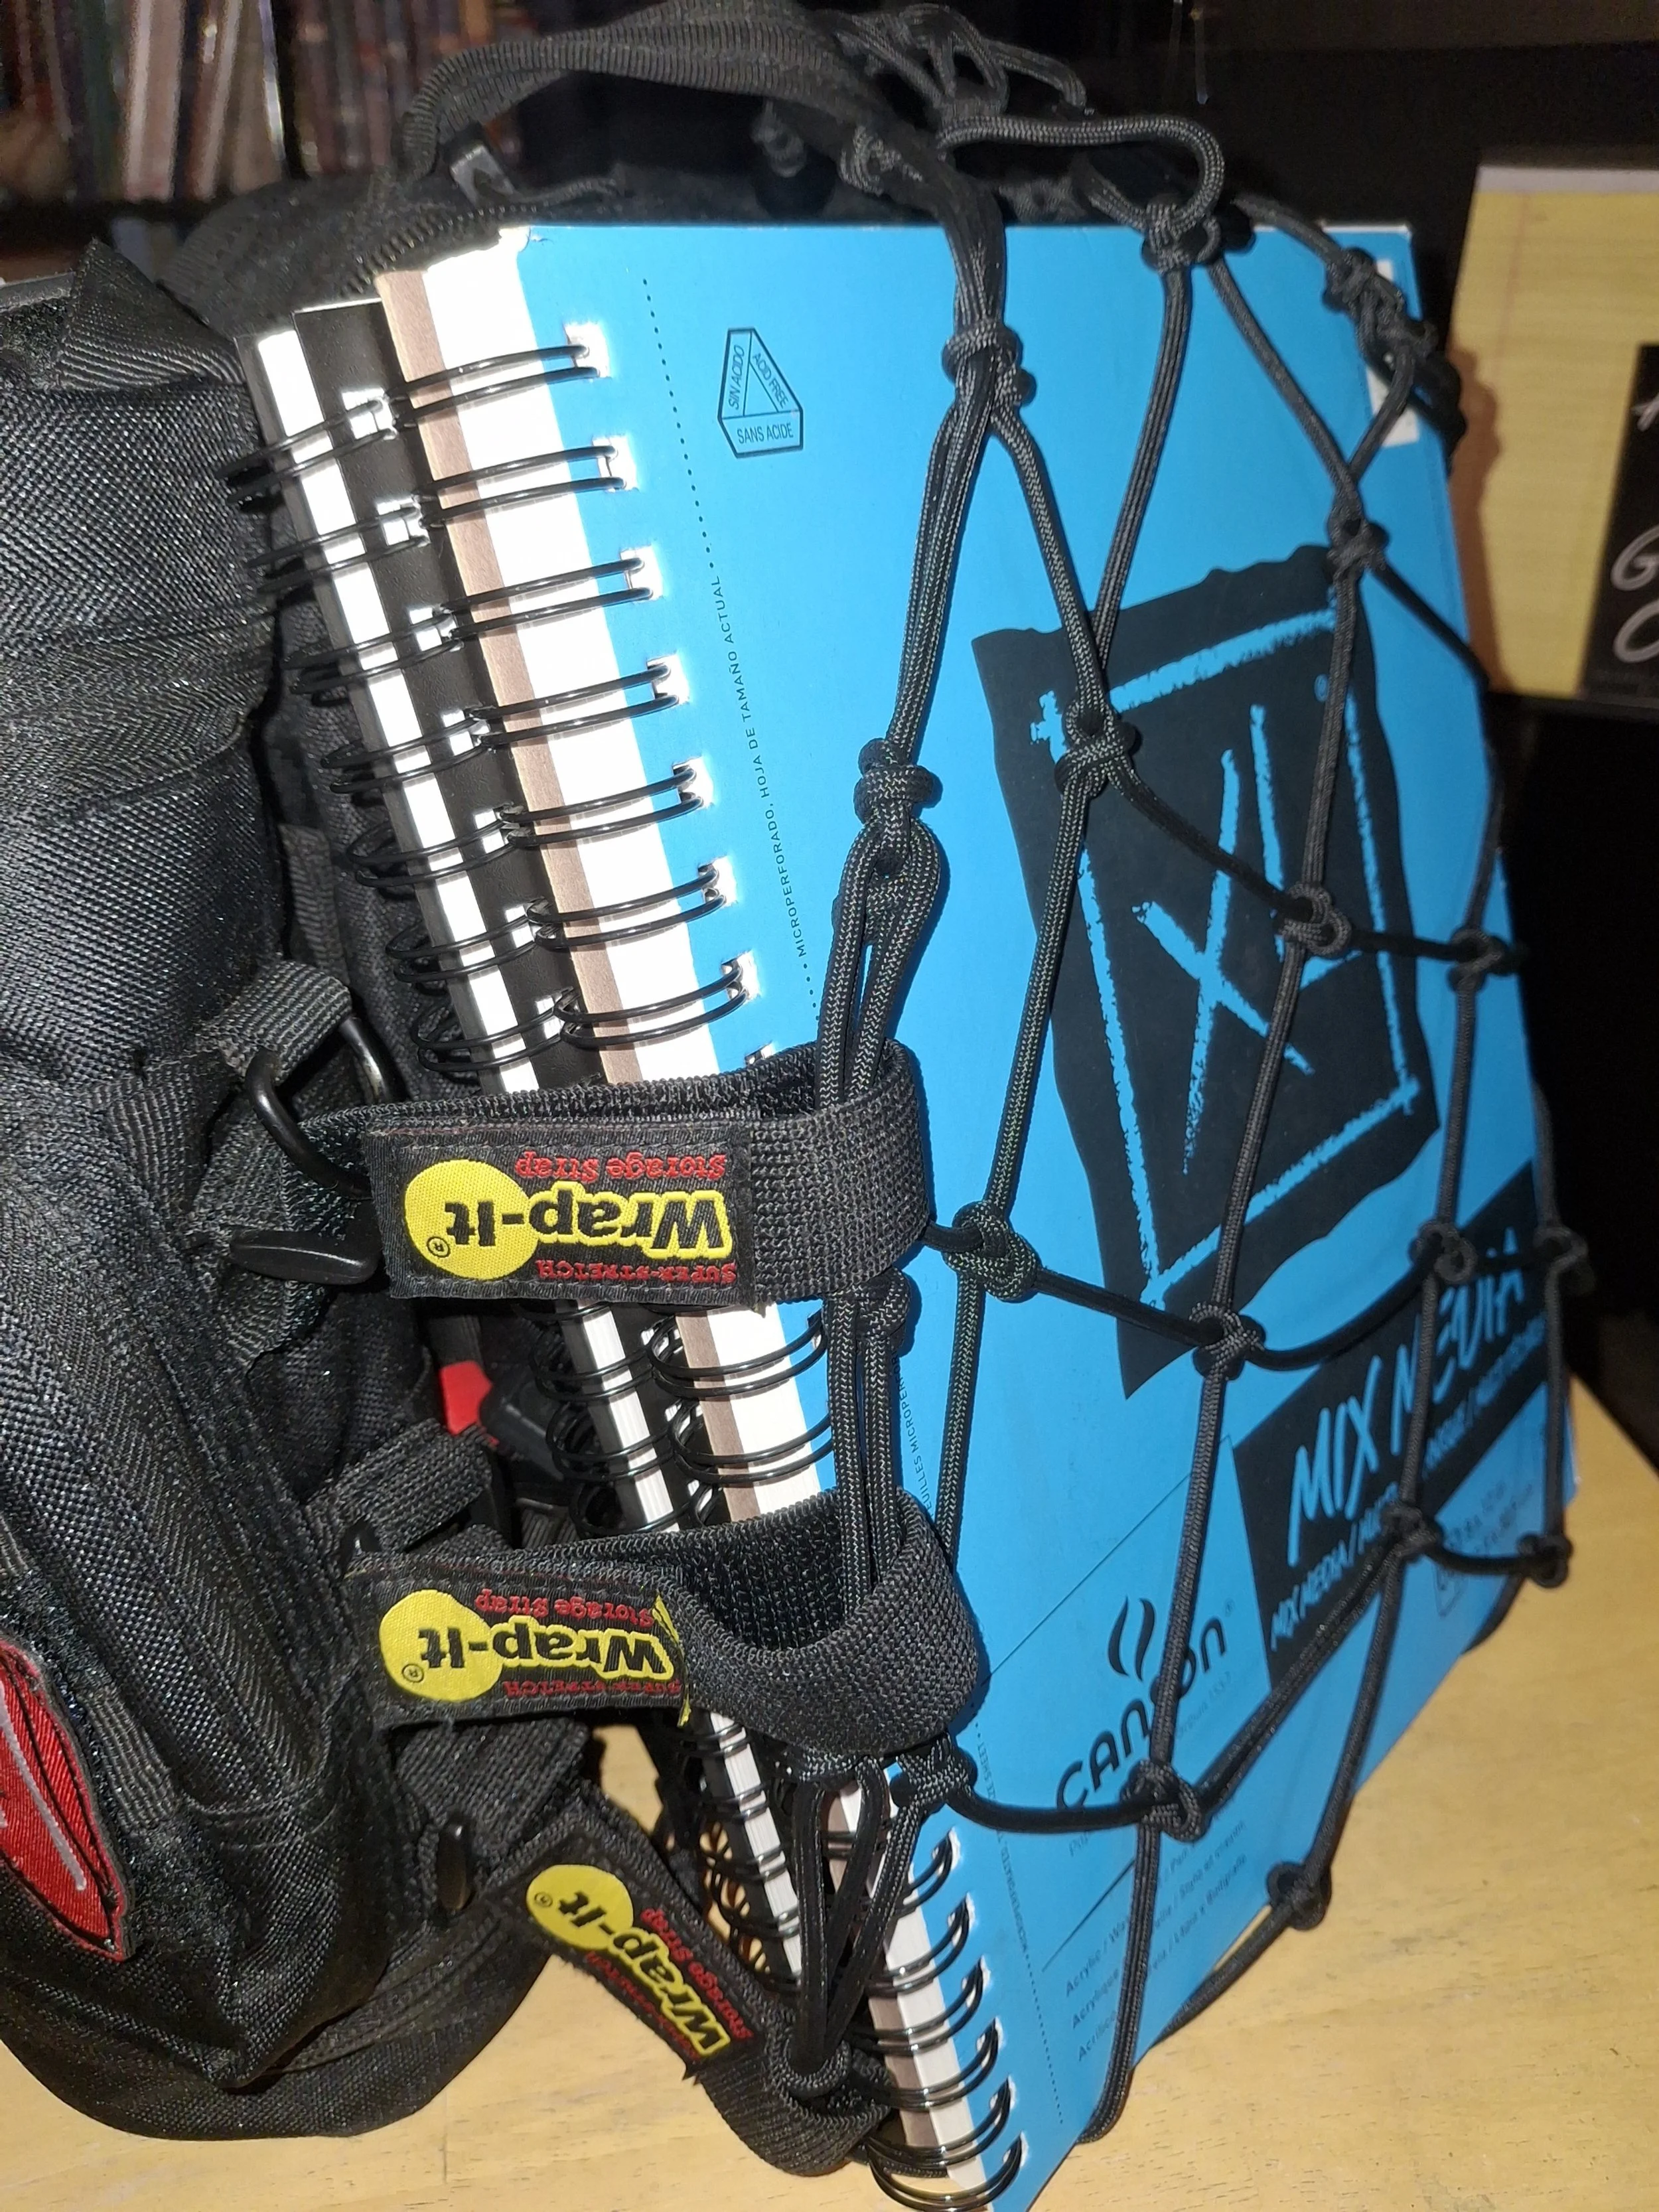
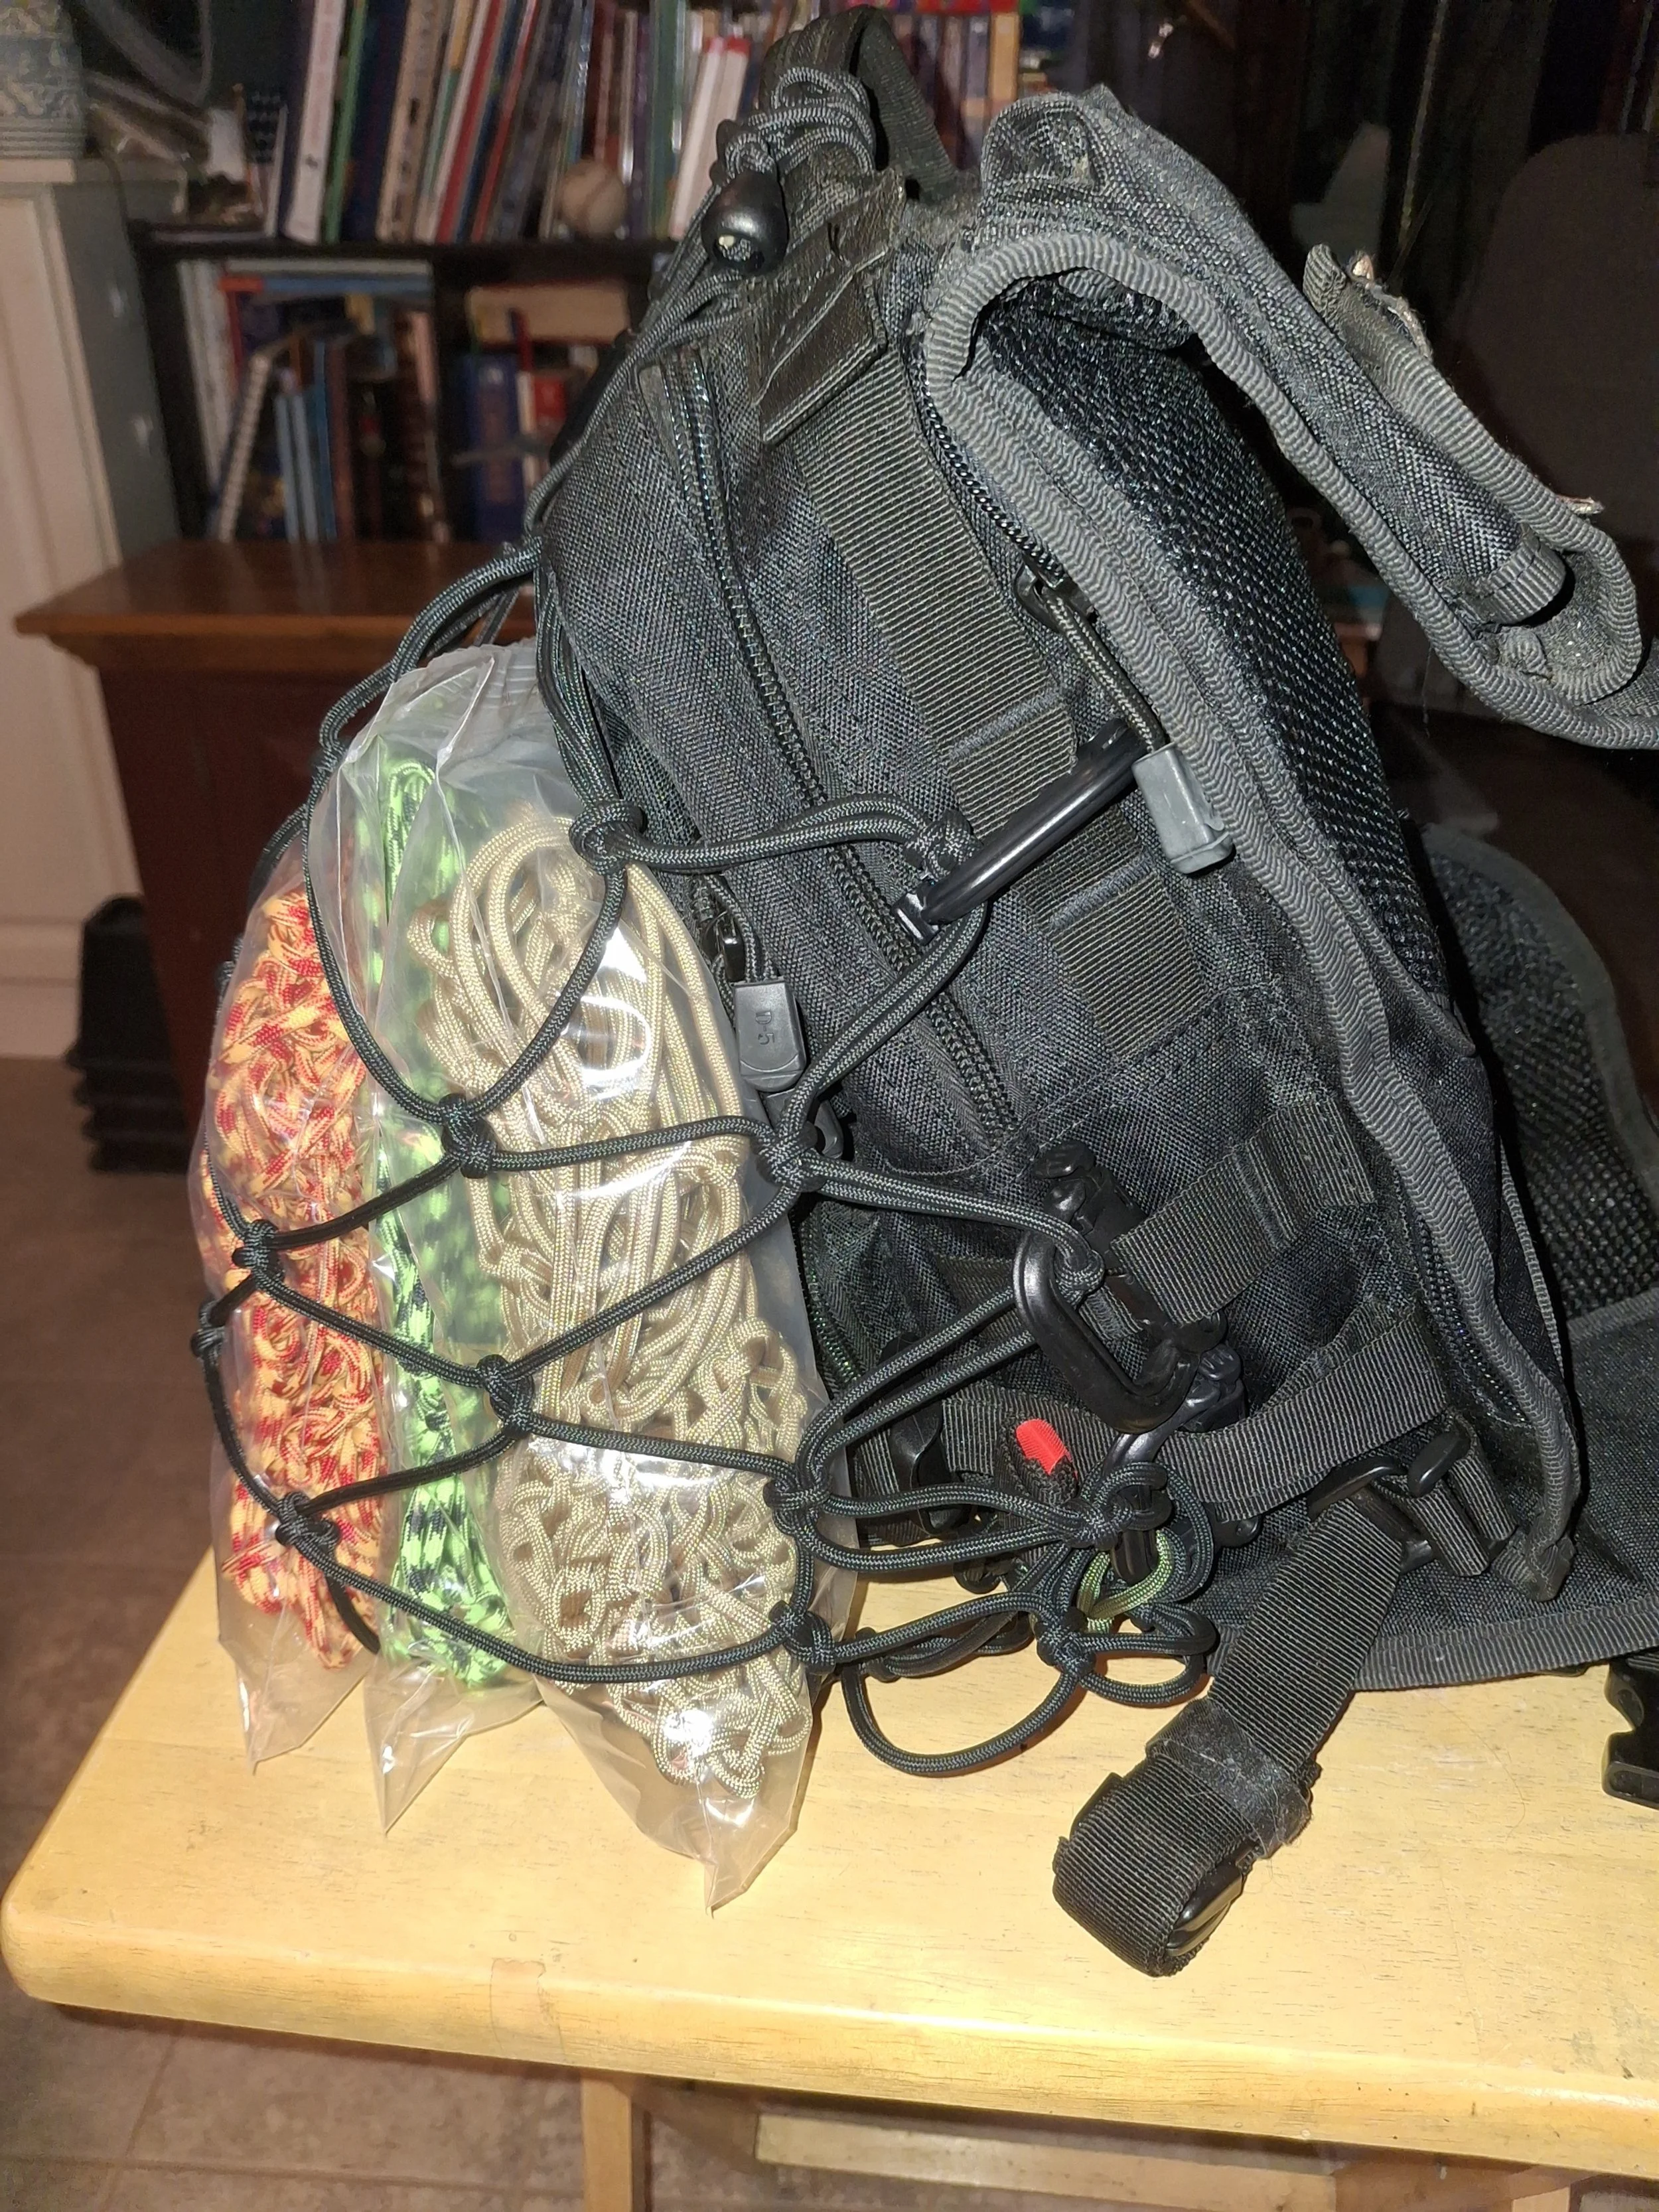
This is where I used the wrap-it straps; they're not my favorite because of the bounce and stretch. I like my stuff tight up against the pack and not swaying. Still, it gives a good visual of where im at in the stages of these photos, but by all means you can use what evere method to connect your net to your pack, keep in mind the weight your gonna put in the net, and always check your connections before moving on… and speakin of moving on lets look at our backpack net pocket now—time to put stuff in it to PACK, HOLD, and CARRY more.
Remember, I made my grab handle just a bit long. There is a small void where the bottom of my backpack net coneects to, not too big a hole, but keep that in mind when making or weaving a second grab handle at the bottom of your pack, and you want to connect your net to it.
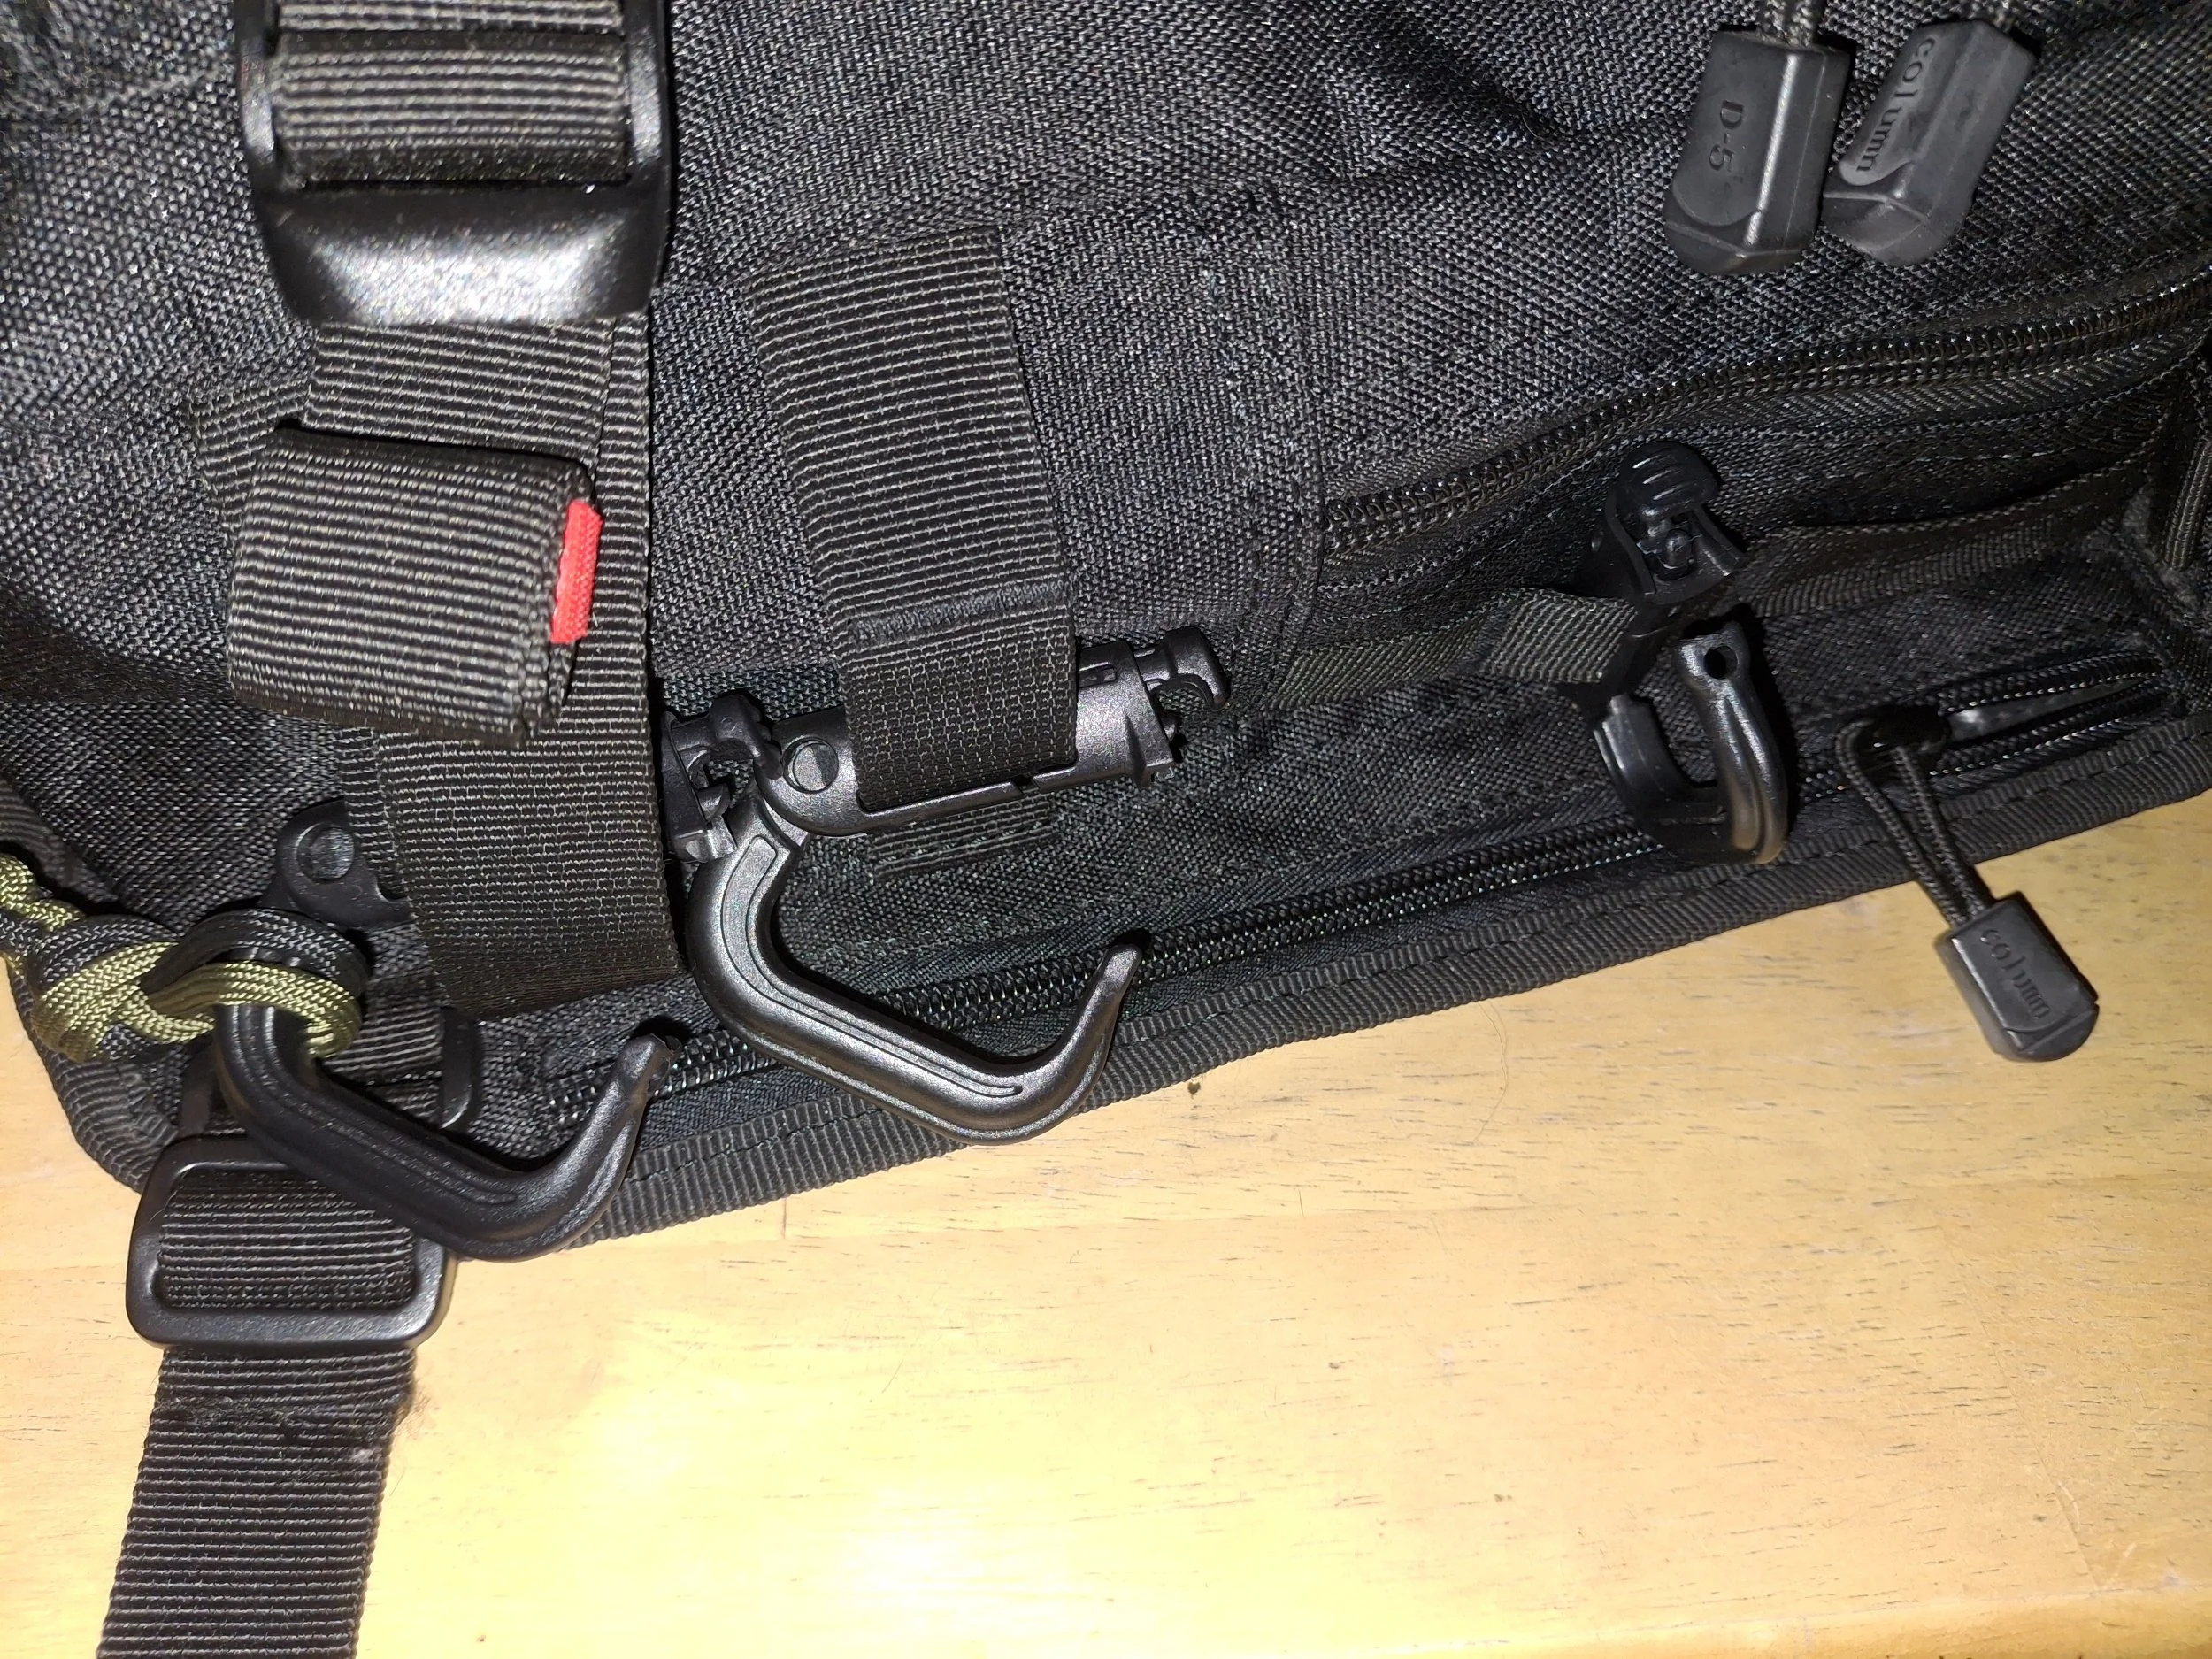
Wala! Use whatever carabiner and/or strap to connect your backpack net to your pack. Just double check your connections to make sure its secure, and you're on your way.

Front view
Side View
Bottom View of the sling pack

I hope this helps, Stuff your stuff. The Mini OPSnet can go a long way with minimal PALS webbing and some ingenuity. Thanks for bringing me along.